Here we have a Steyr-Mannlicher sporting rifle in 8x60S. Its original Köhler Pecar 6x59 (6 power, 59mm objective) scope had suffered damage that was beyond repair. The owner did not want to shoot the rifle without a scope and he did not want to mount a modern scope in custom-made rings because that would have compromised the vintage flavor of the rifle. Being the intrepid sort, he actually found another scope of the same type on, believe it or not, Ebay. The replacement scope was intact, with good undamaged glass but it was more than a bit lacking in the looks department, as well as being quite dirty internally (scopes of this type are neither sealed nor charged with inert gas). It also had claw-mounts for a completely different rifle attached. This would necessitate removing the mounts from both scopes and placing the "new" scope in the old mounts. These scopes are built with steel main tubes and the mounts are soft-soldered in place so, since it would be entirely disassembled for the mount swap and cleaning anyway, the decision was made to completely refinish the scope as well.
After complete disassembly of the replacement scope, some damage to the main tube was discovered in the bearing area of the eyepiece, where it rotates to focus the reticle. It seems that someone had at one time removed the lock screw and replaced it without aligning it in its retaining groove, causing a spiral dent in the main tube. This interfered with the fore and aft movement of the erector lens tube and would have to be repaired, using a custom turned mandrel and a small (and very highly polished) ballpeen hammer.
After removing the mounts from the replacement scope body (along with all traces of solder) and draw filing the pitting that was present, it was time to put the new tube into the original mounts.
Attaching the mounts is no different than reattaching the ribs on a set of barrels. The tube is tinned in the area of the mounts, as are the "saddle" portion of the mounts. The reticle is temporarily reinstalled so as to be able to level the scope, the mounts are locked into their bases on the rifle, and then the scope tube is slid into the mounts. Measurements were taken from the original assembly before disassembly, so that the eye relief would be correct. The assembly was then soldered together. Since the entire reticle assembly is metal (brass with steel "sidewires" and "post"), there was no danger to them from the heat of soldering.


With the tube repairs and mounting complete, preparation for refinishing could begin. While the tube/mount assembly are steel, and would be rust-blued, the eye piece and elevation adjuster wheel assembly are aluminum and would require a different finish method. These parts were originally finished with a finely textured paint, the remains of which was removed with lacquer thinner. The closest modern equivalent that I came up with is black wrinkle paint. This wrinkles very tightly with the application of heat and while not exactly as original, it would look good and it is very tough. After stripping the original paint from the aluminum parts, they were lightly glass blasted to give the surfaces a uniform base for the paint.
After bead blasting, the interior surfaces were masked in the threaded areas in preparation for internal painting. All of the interior surfaces are finished in black so as to prevent any internal glare or reflections in the sight picture.
After the internal painting was finished, the external surfaces were wrinkle painted. Here is the eyepiece with the cleaned lenses, spacers and retaining ring. The retaining rings are made of brass and were polished bright. This isn't as original but the owner likes the look of it and I concur.
After the wrinkle paint is fully hardened, I recut the markings, using a graver.
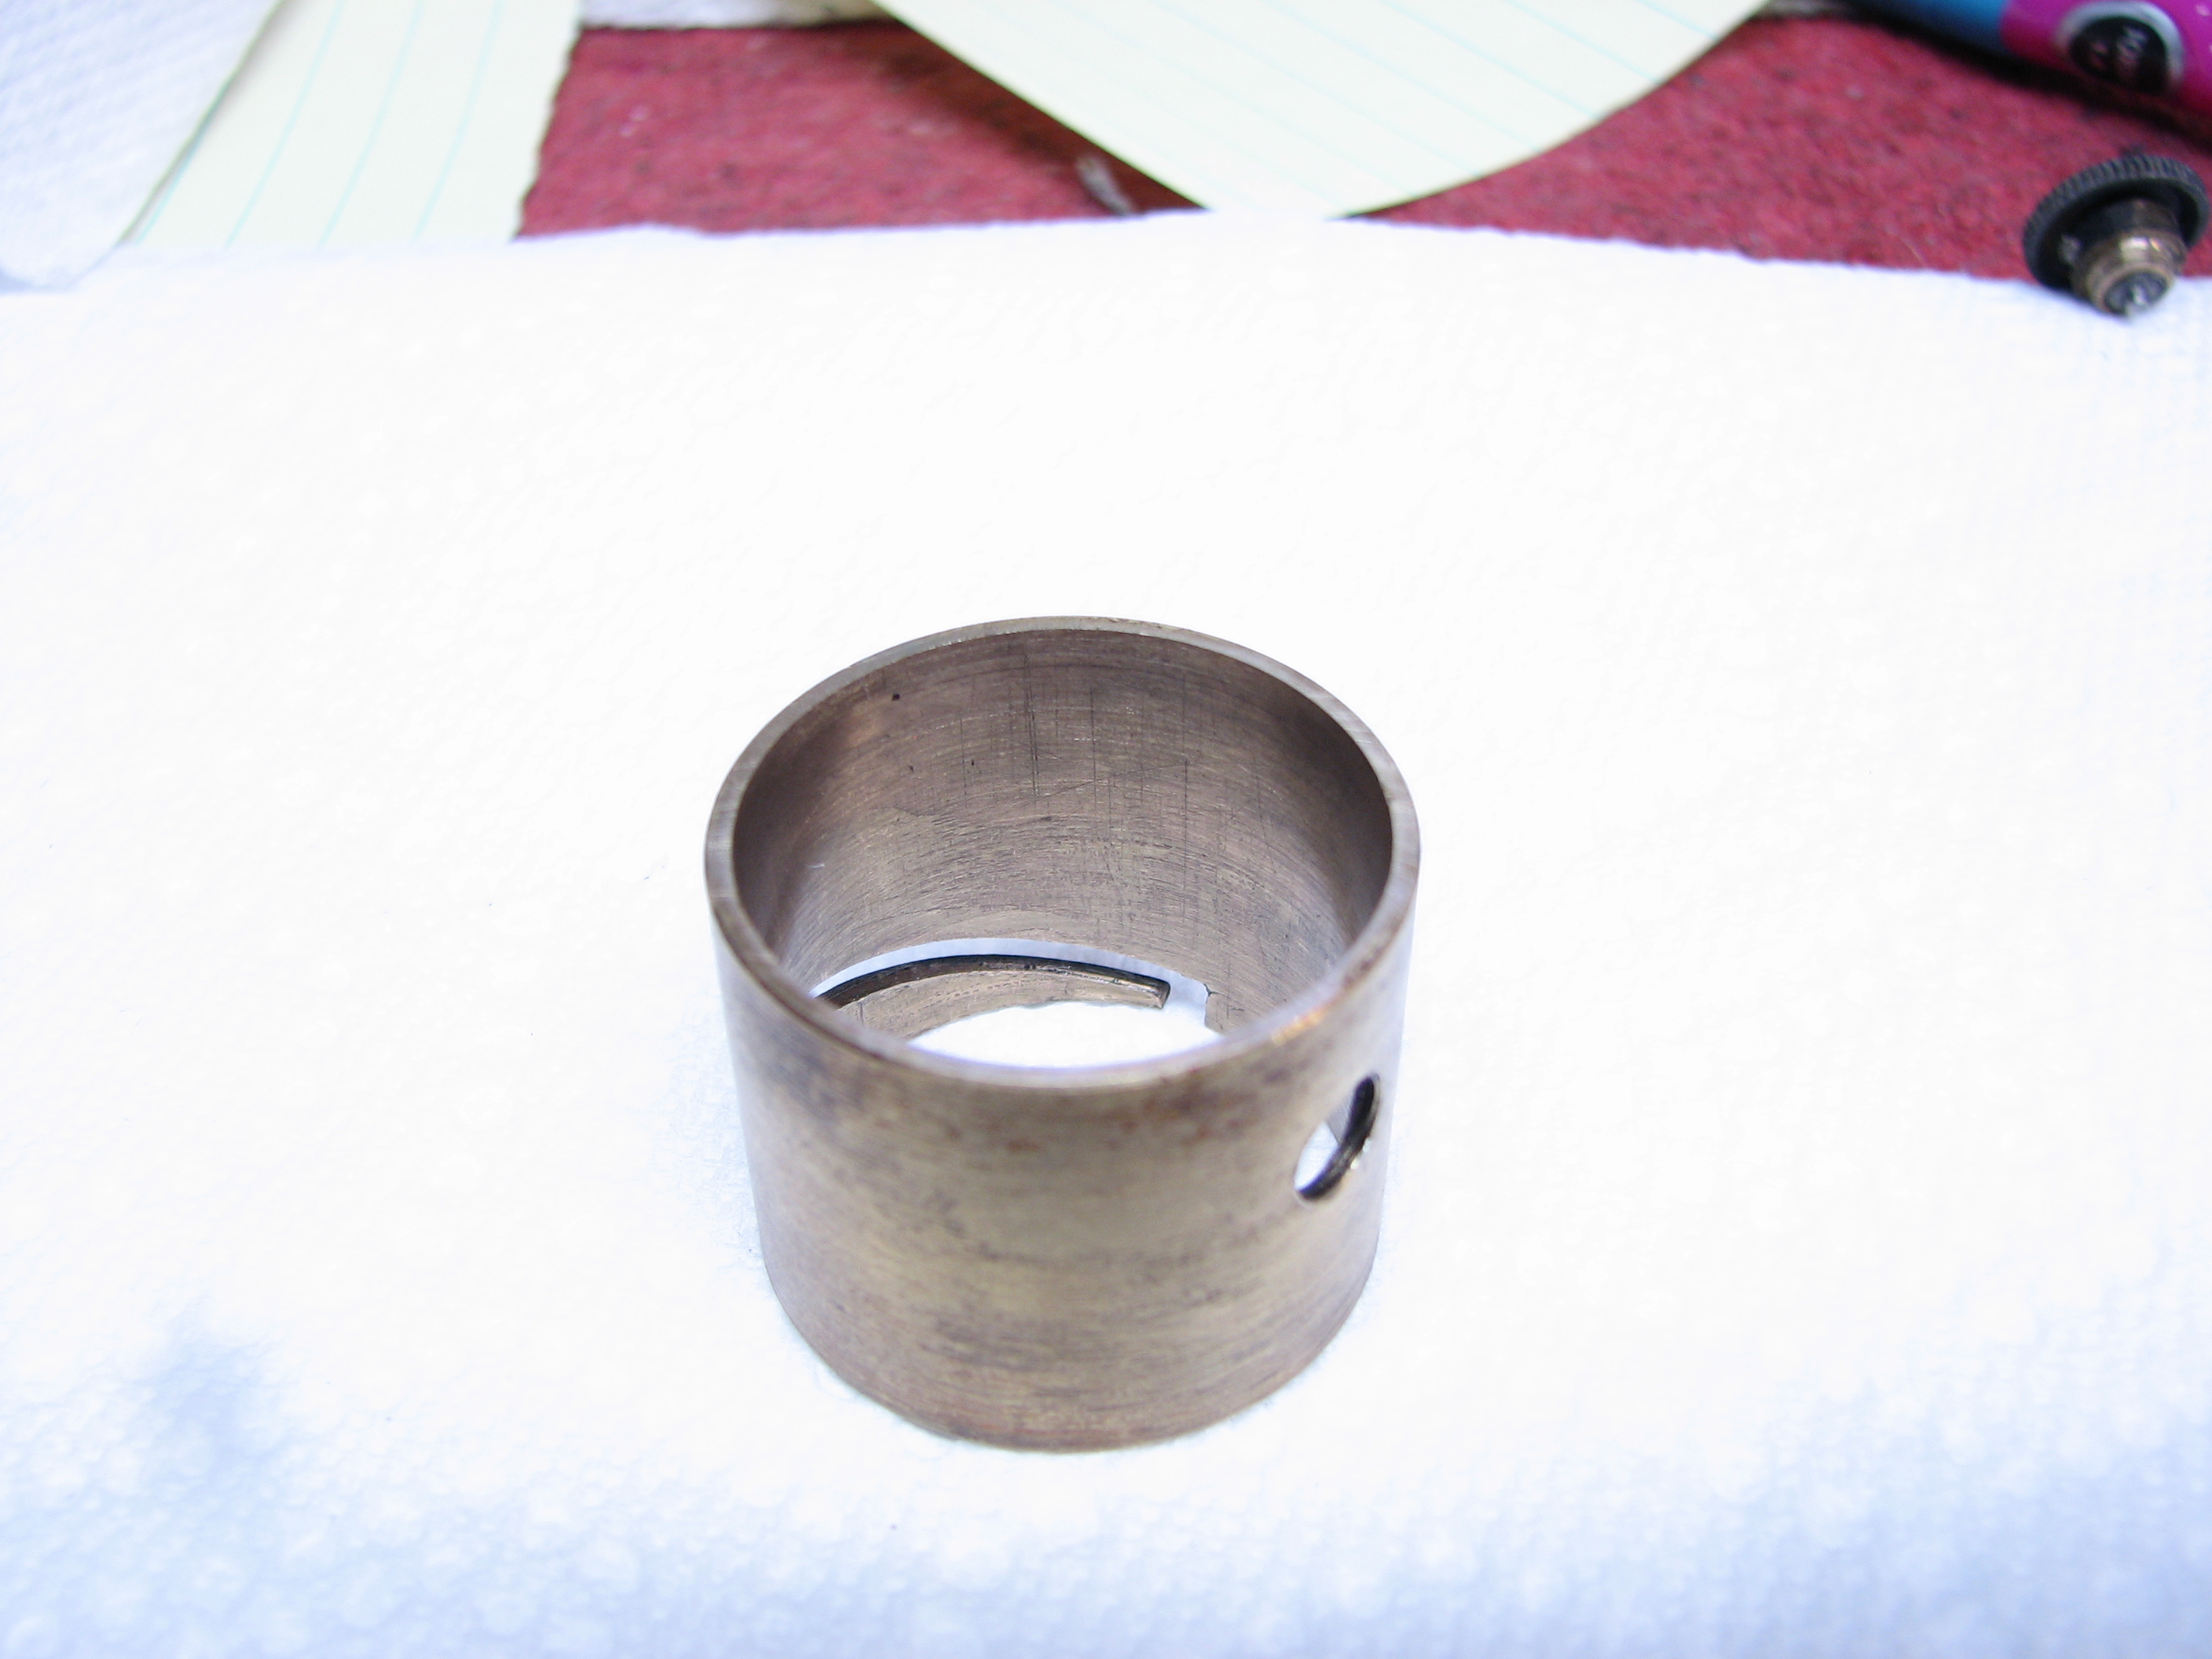
With all of the metal finishing done, it was time for reassembly. At this time I also made a nylon thrust bearing for the eyepiece that eliminated metal-to-metal contact between the eyepiece and and the shoulder on the tube. This wasn't strictly necessary but it does result in much smoother movement of the eyepiece while focusing the reticle.