Craft Gunmaking, No compromises, No corners cut, EVER

Monday, February 12, 2024

Un-!@#$%^^&^-ing a Beautiful Lebeau-Courally BLE

 Here is a Lebeau-Courally BLE in 16 gauge that suffered more than a few problems.  Both hammers had failed, one completely and the other cracked completely through the pivot hole.  All of the screw slots had suffered at the hands of the last individual who had attempted repairs on the gun.  They also beat the snot out of the sear and hammer pivot pins, which originally had polished, concave ends.  After disassembly and a thorough inspection of the damage, the lengthy journey of correctly repairing everything began.  

It started with the creation of new left and right hammers made from O1.  It doesn't take a rocket surgeon to determine why either hammer failed at the points that they did.  The left hammer cracked through the pivot, the crack originating at a tool mark near the sear notch.  The right hammer failed exactly where it was (apparently) designed to, at the sharp inside corner, situated right at the point where the hammer would flex the most.  When making the new hammers, I replaced that sharp inside corner with a radius, so as to prevent a replay of previous events.

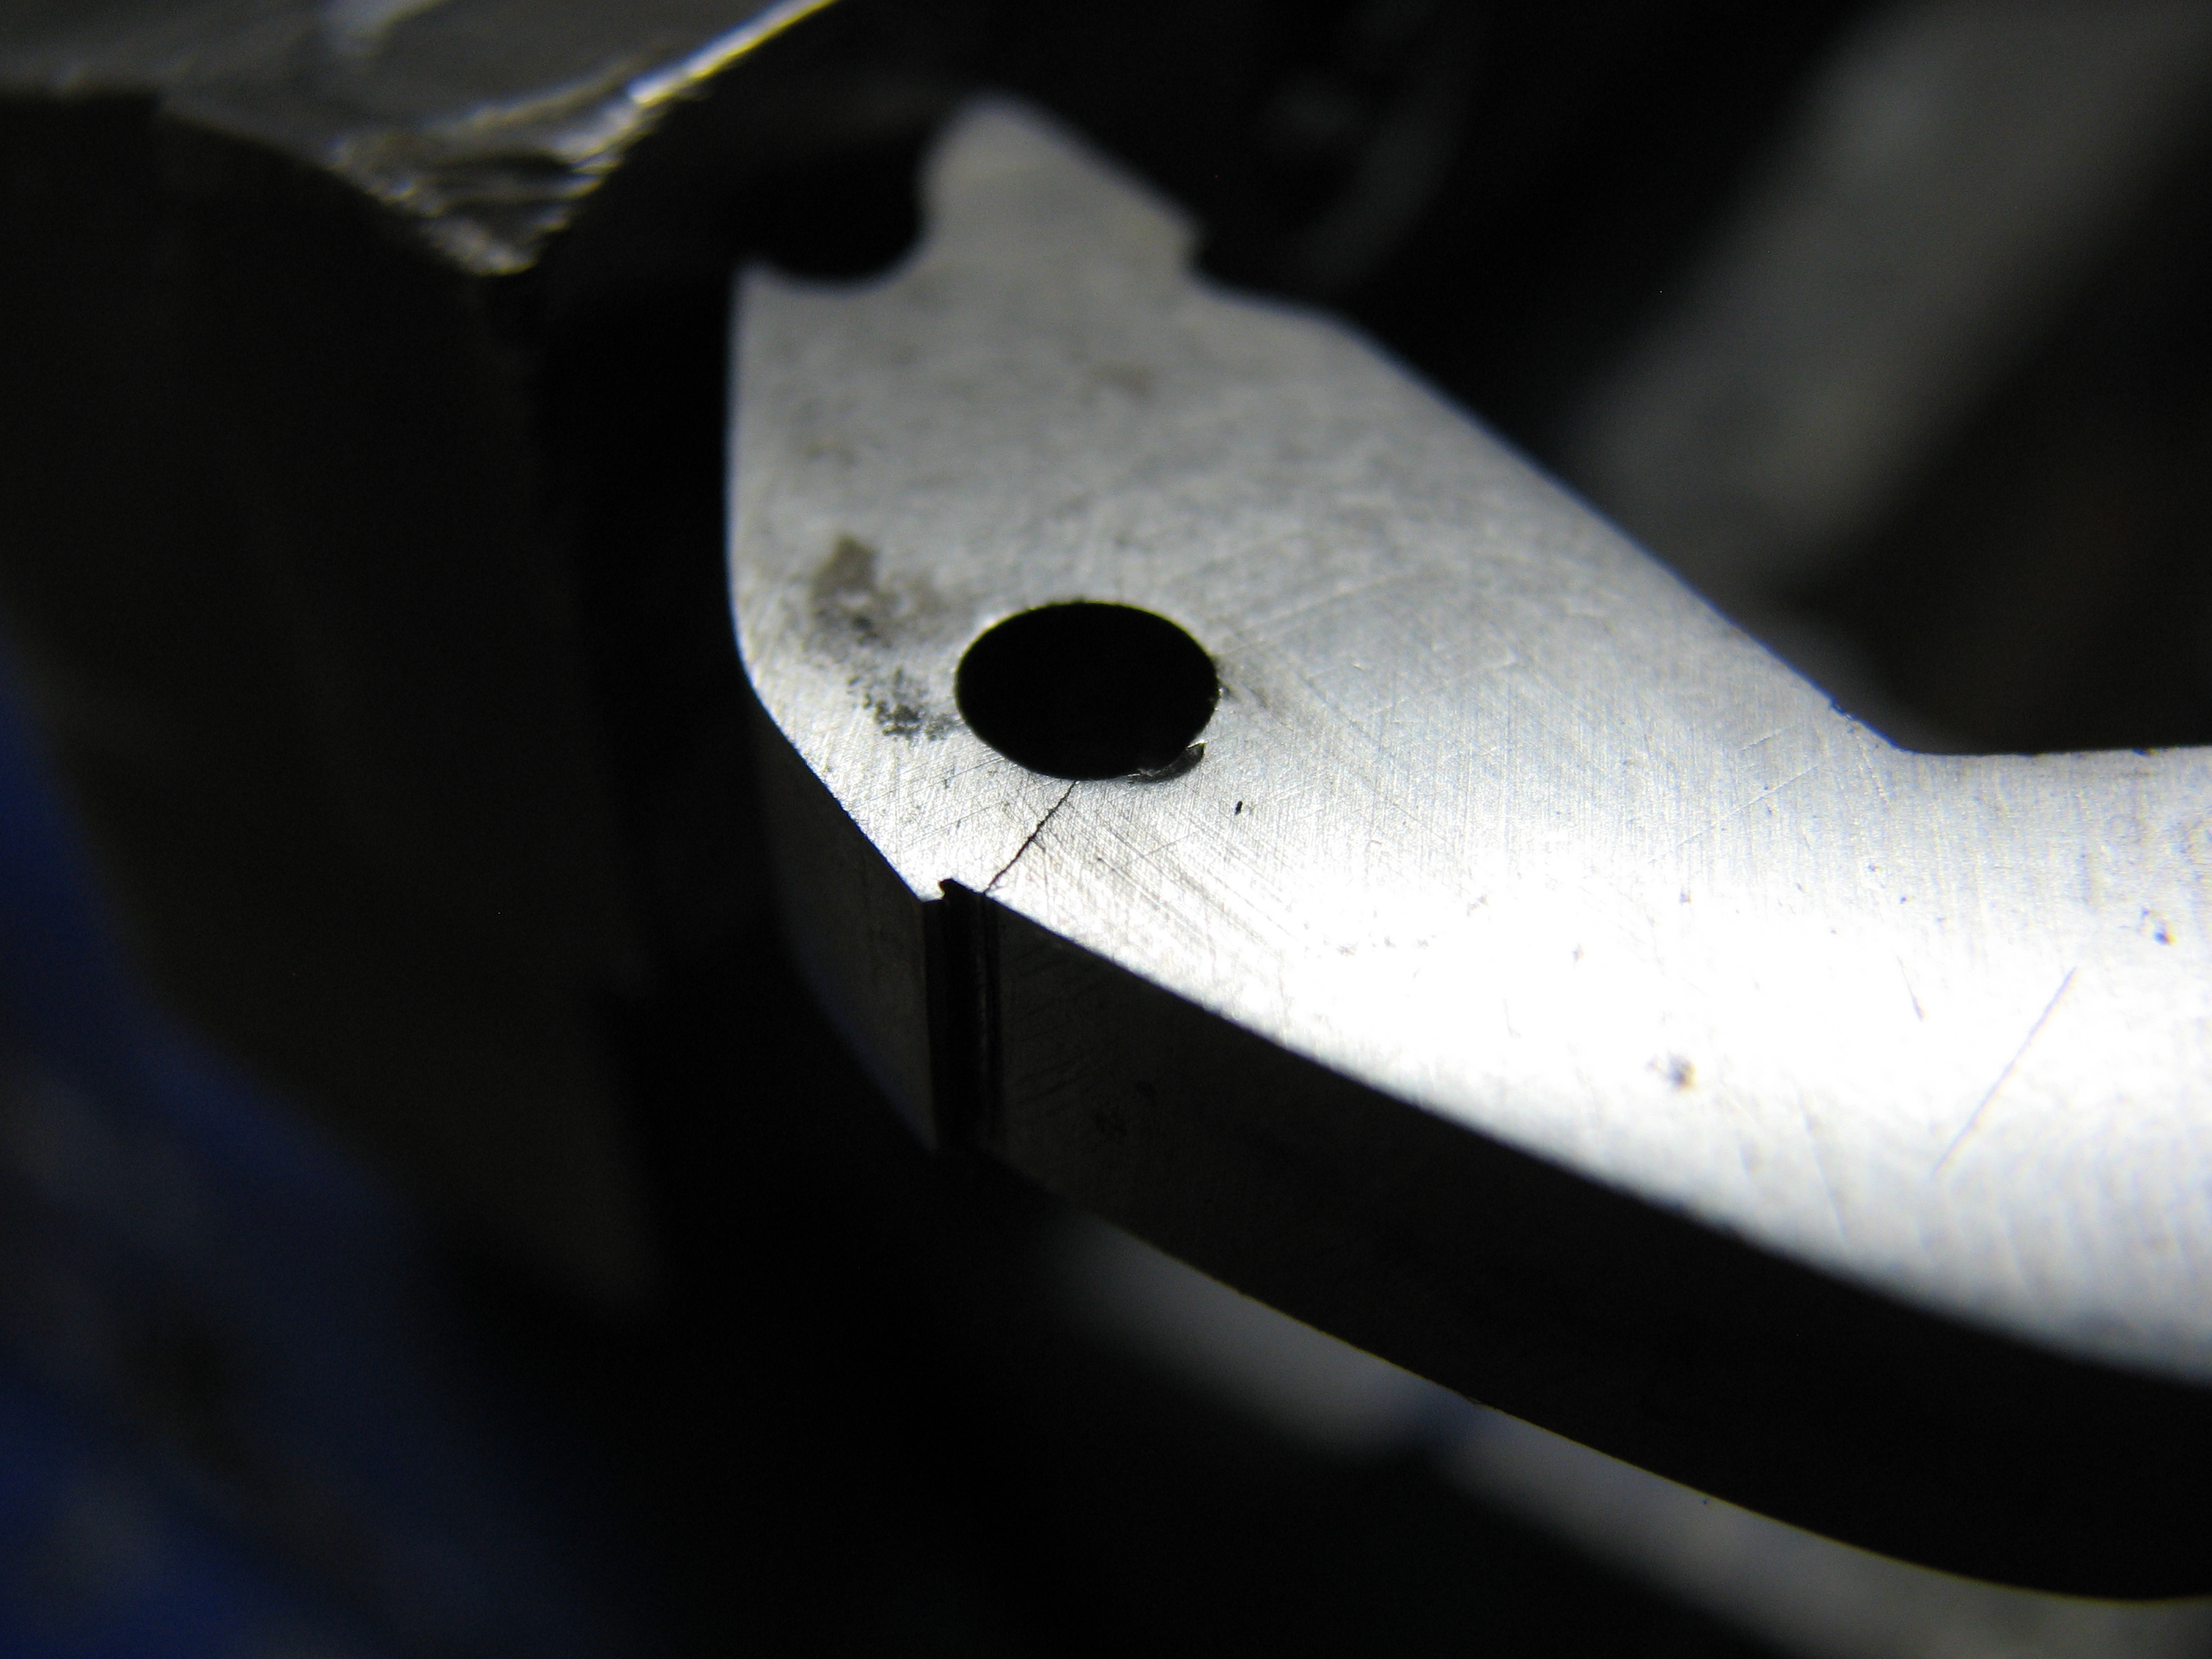
The broken right hammer was temporarily glued together so that I could trace its outline.

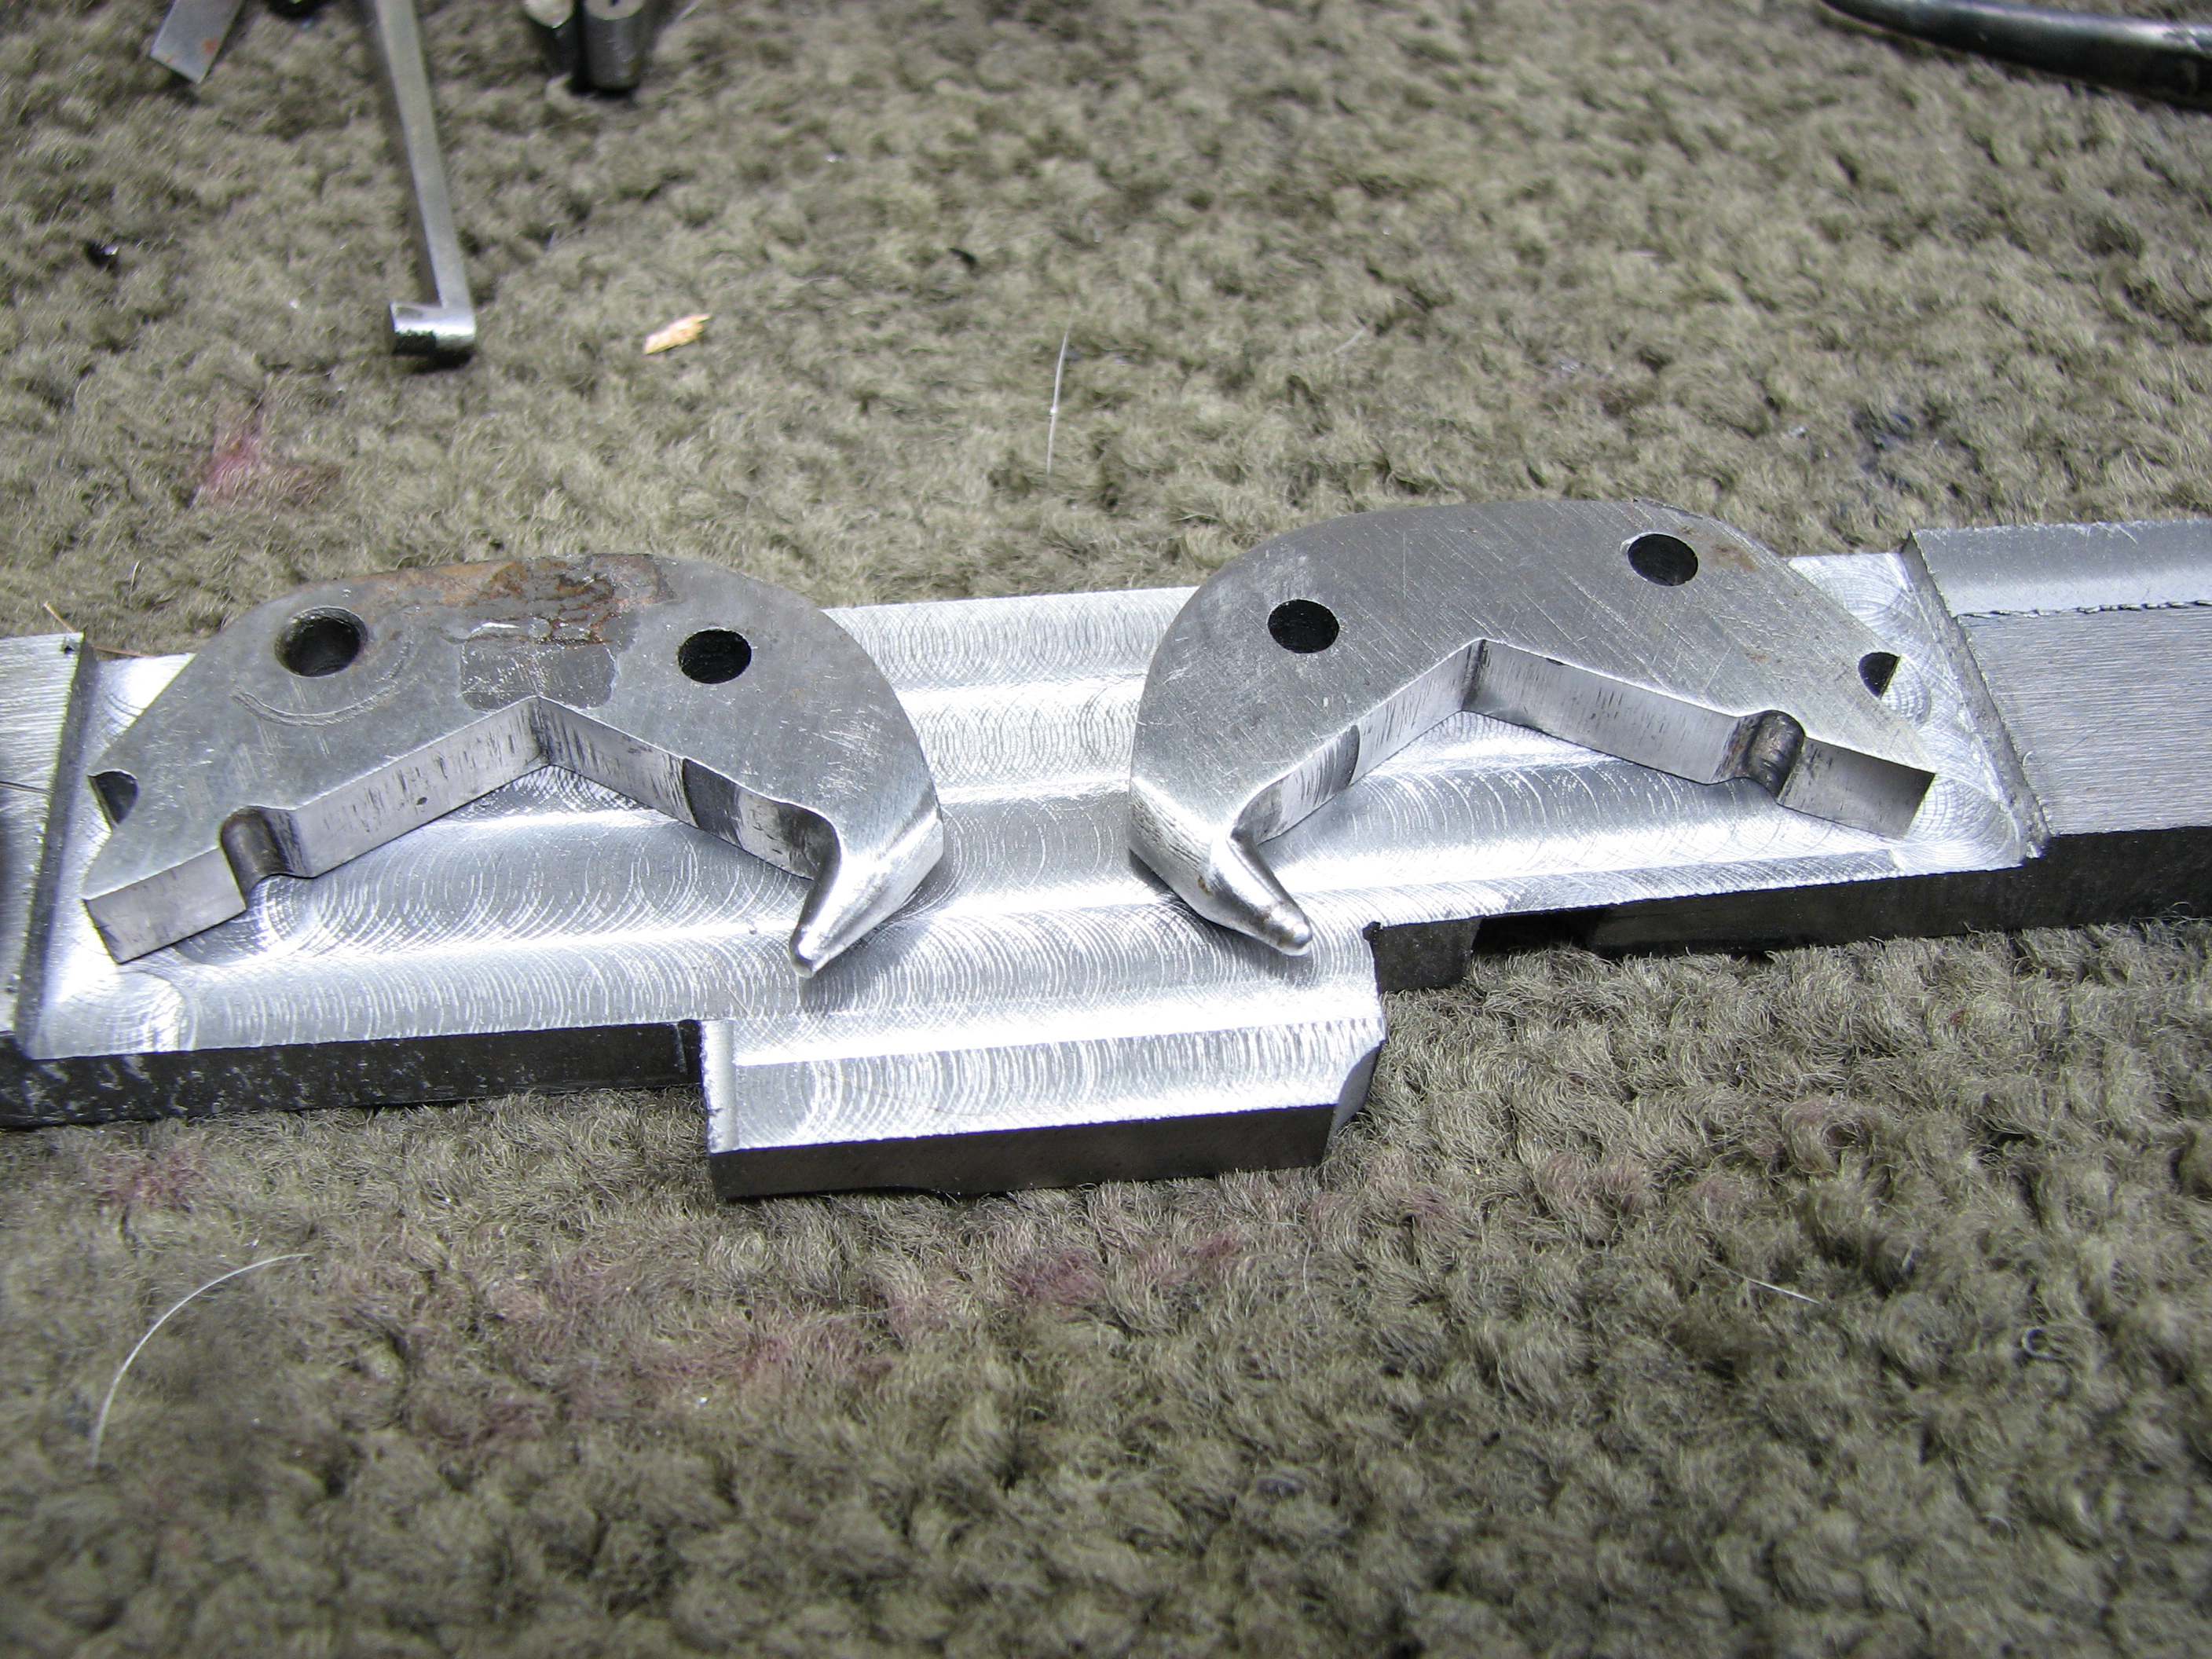
The "nose" (firing pin) portion of the hammers was cut on the milling machine, using a shop-made profile cutter.

The finished parts...

Obviously, fitting new hammers entails addressing things like: sear engagement, firing pin protrusion, cocking timing, overdraw, ejector function, etc. but these things aren't the most photogenic processes, which is why they are not shown.

Before the new screws can be made, there are internal repairs to the head of the stock which must be completed.

After:


Now, on to the screws (of which there are many)...


Making the screws from 1020 (they are case hardened after engraving)

The new screws, ready for engraving.  Note the toplever lockscrew is screwed into an aluminum extension.  This is so that it can be held in my engraving vise.

All finished:


A Checkered Butt Extension for a Guerini

 A checkered but for a gun with a drawbolt-retained buttstock presents a bit of a challenge because of the need to access to that very bolt.  

The way the big manufacturers do it is, typically, to simply use a buttplate of conventional design but made of the same type of wood as the stock.  They are however, never made from the same piece, nor is the grain orientation in the same direction, which would compromise the strength of the buttplate.  Needless to say, this, combined with the presence of the buttplate screws doesn't make for a very convincing representation of a checkered butt.  It just looks like a wooden buttplate.

The other common method is to use an oval (usually more of a rectangle with rounded corners) plug of wood, also retained by two screws, inlet into the sole of the butt.  In some instances, this doesn't look too bad but the screws still spoil the look.

The drawbolt in a Guerini over/under is of the Allen (or socket) head type and is held captive by an aluminum plug pressed into the bolt bore, which not only prevents the bolt from being lost, it also acts as a guide for the Allen key, thanks to the "funnel" machined into the rear end.  The captive bolt means that the only access necessary is a 6mm hole (to comfortably accept the 5mm key).  Figuring that a single, small hole in the butt would probably look a whole lot better than two screw heads and an obvious seam, that is the direction that I took.

Since this was to be a considerable extension, the weight of the added piece had to be considered.  The gun's balance was preserved by boring multiple holes completely through the extension, which were then plugged with shallow plugs.  The plugs were turned from the same piece of walnut with the same grain orientation as the extension.

The plugs are epoxied in place, making sure that the grain followed that of the surrounding wood.  The access hole also got an aluminum "bezel" to prevent the checkering from getting beat up around the hole during future maintenance.

After the epoxy cured, the but was shaped in preparation for finishing and checkering. 

All finished.  The plugs are all but invisible.


Repairing a Colt 1849

 This one had a few issues.  The cylinder would not carry up, nor would it lock into position and, the mainspring was broken.  The carry up issue was, as expected, due to a broken hand spring (not an uncommon issue in these old Colts).  The cylinder stop malfunction was not however caused by any issue with its spring, but with the screw upon which it pivots.  It seems that the cylinder stop screw (as well as the trigger pivot screw) had, somehow, developed multiple bends.  

Obviously, these need to be replaced.


New screws were turned and threaded on the lathe (the blank for the new hand spring has also been made and fit).

Then I finished off each end of the screws and engraved them in the appropriate pattern before heat treating them.

Then, it's on to the mainspring, which is made from 1095.

Machining the thickness taper...

Heat treated and finished...

After reassembly, it functions (and looks) as it should.  Yes, the grips are factory ivory, which I find repugnant.  Sadly (and shamefully), people seem to prize ivory today just as much as they did back then.