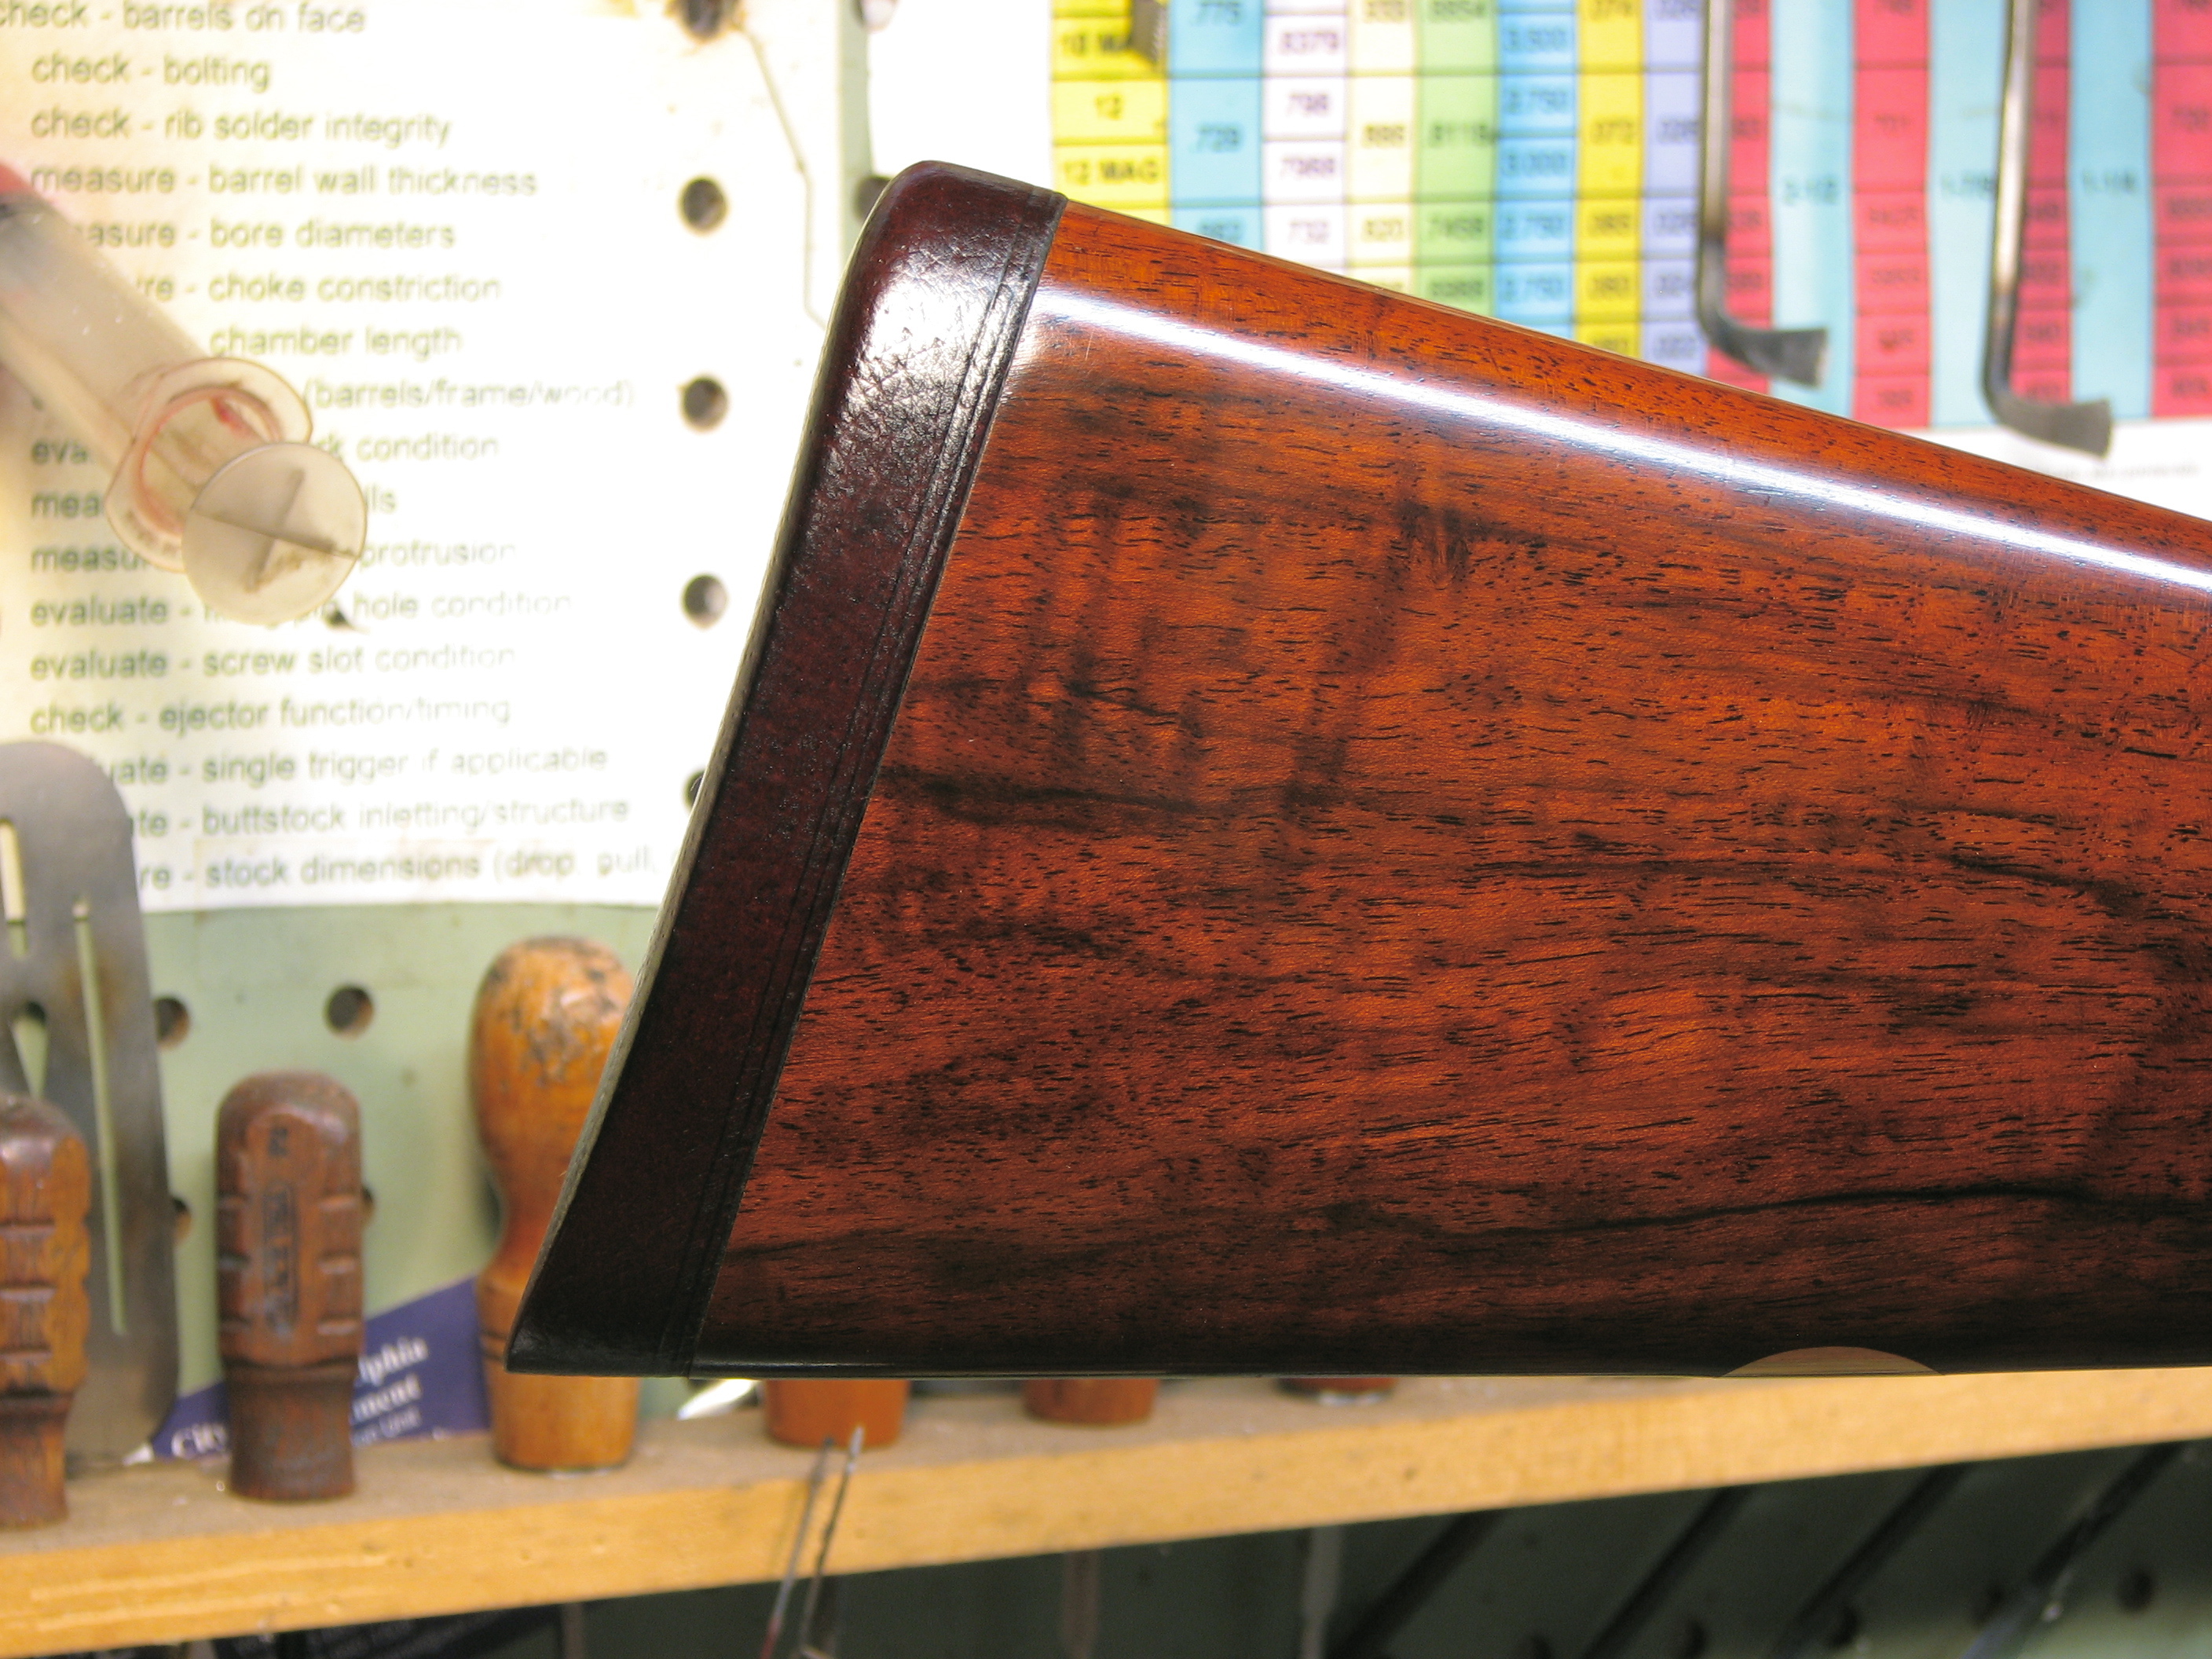
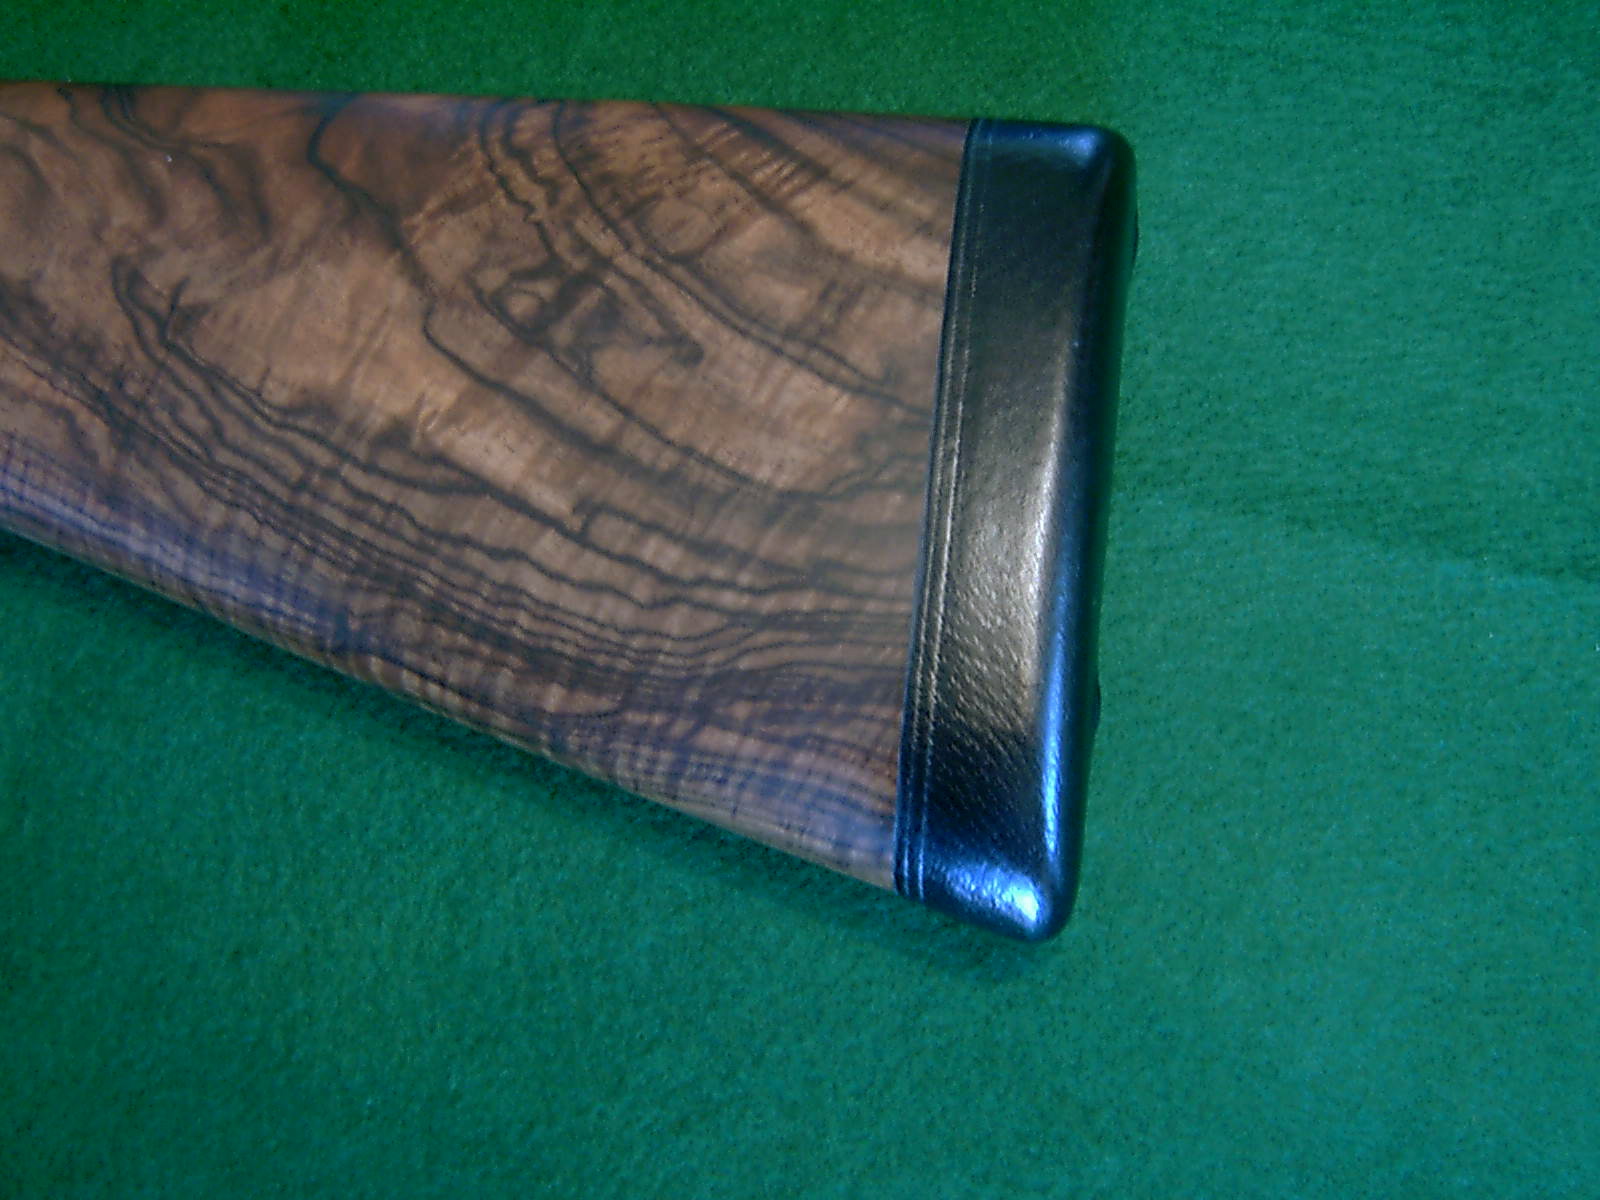
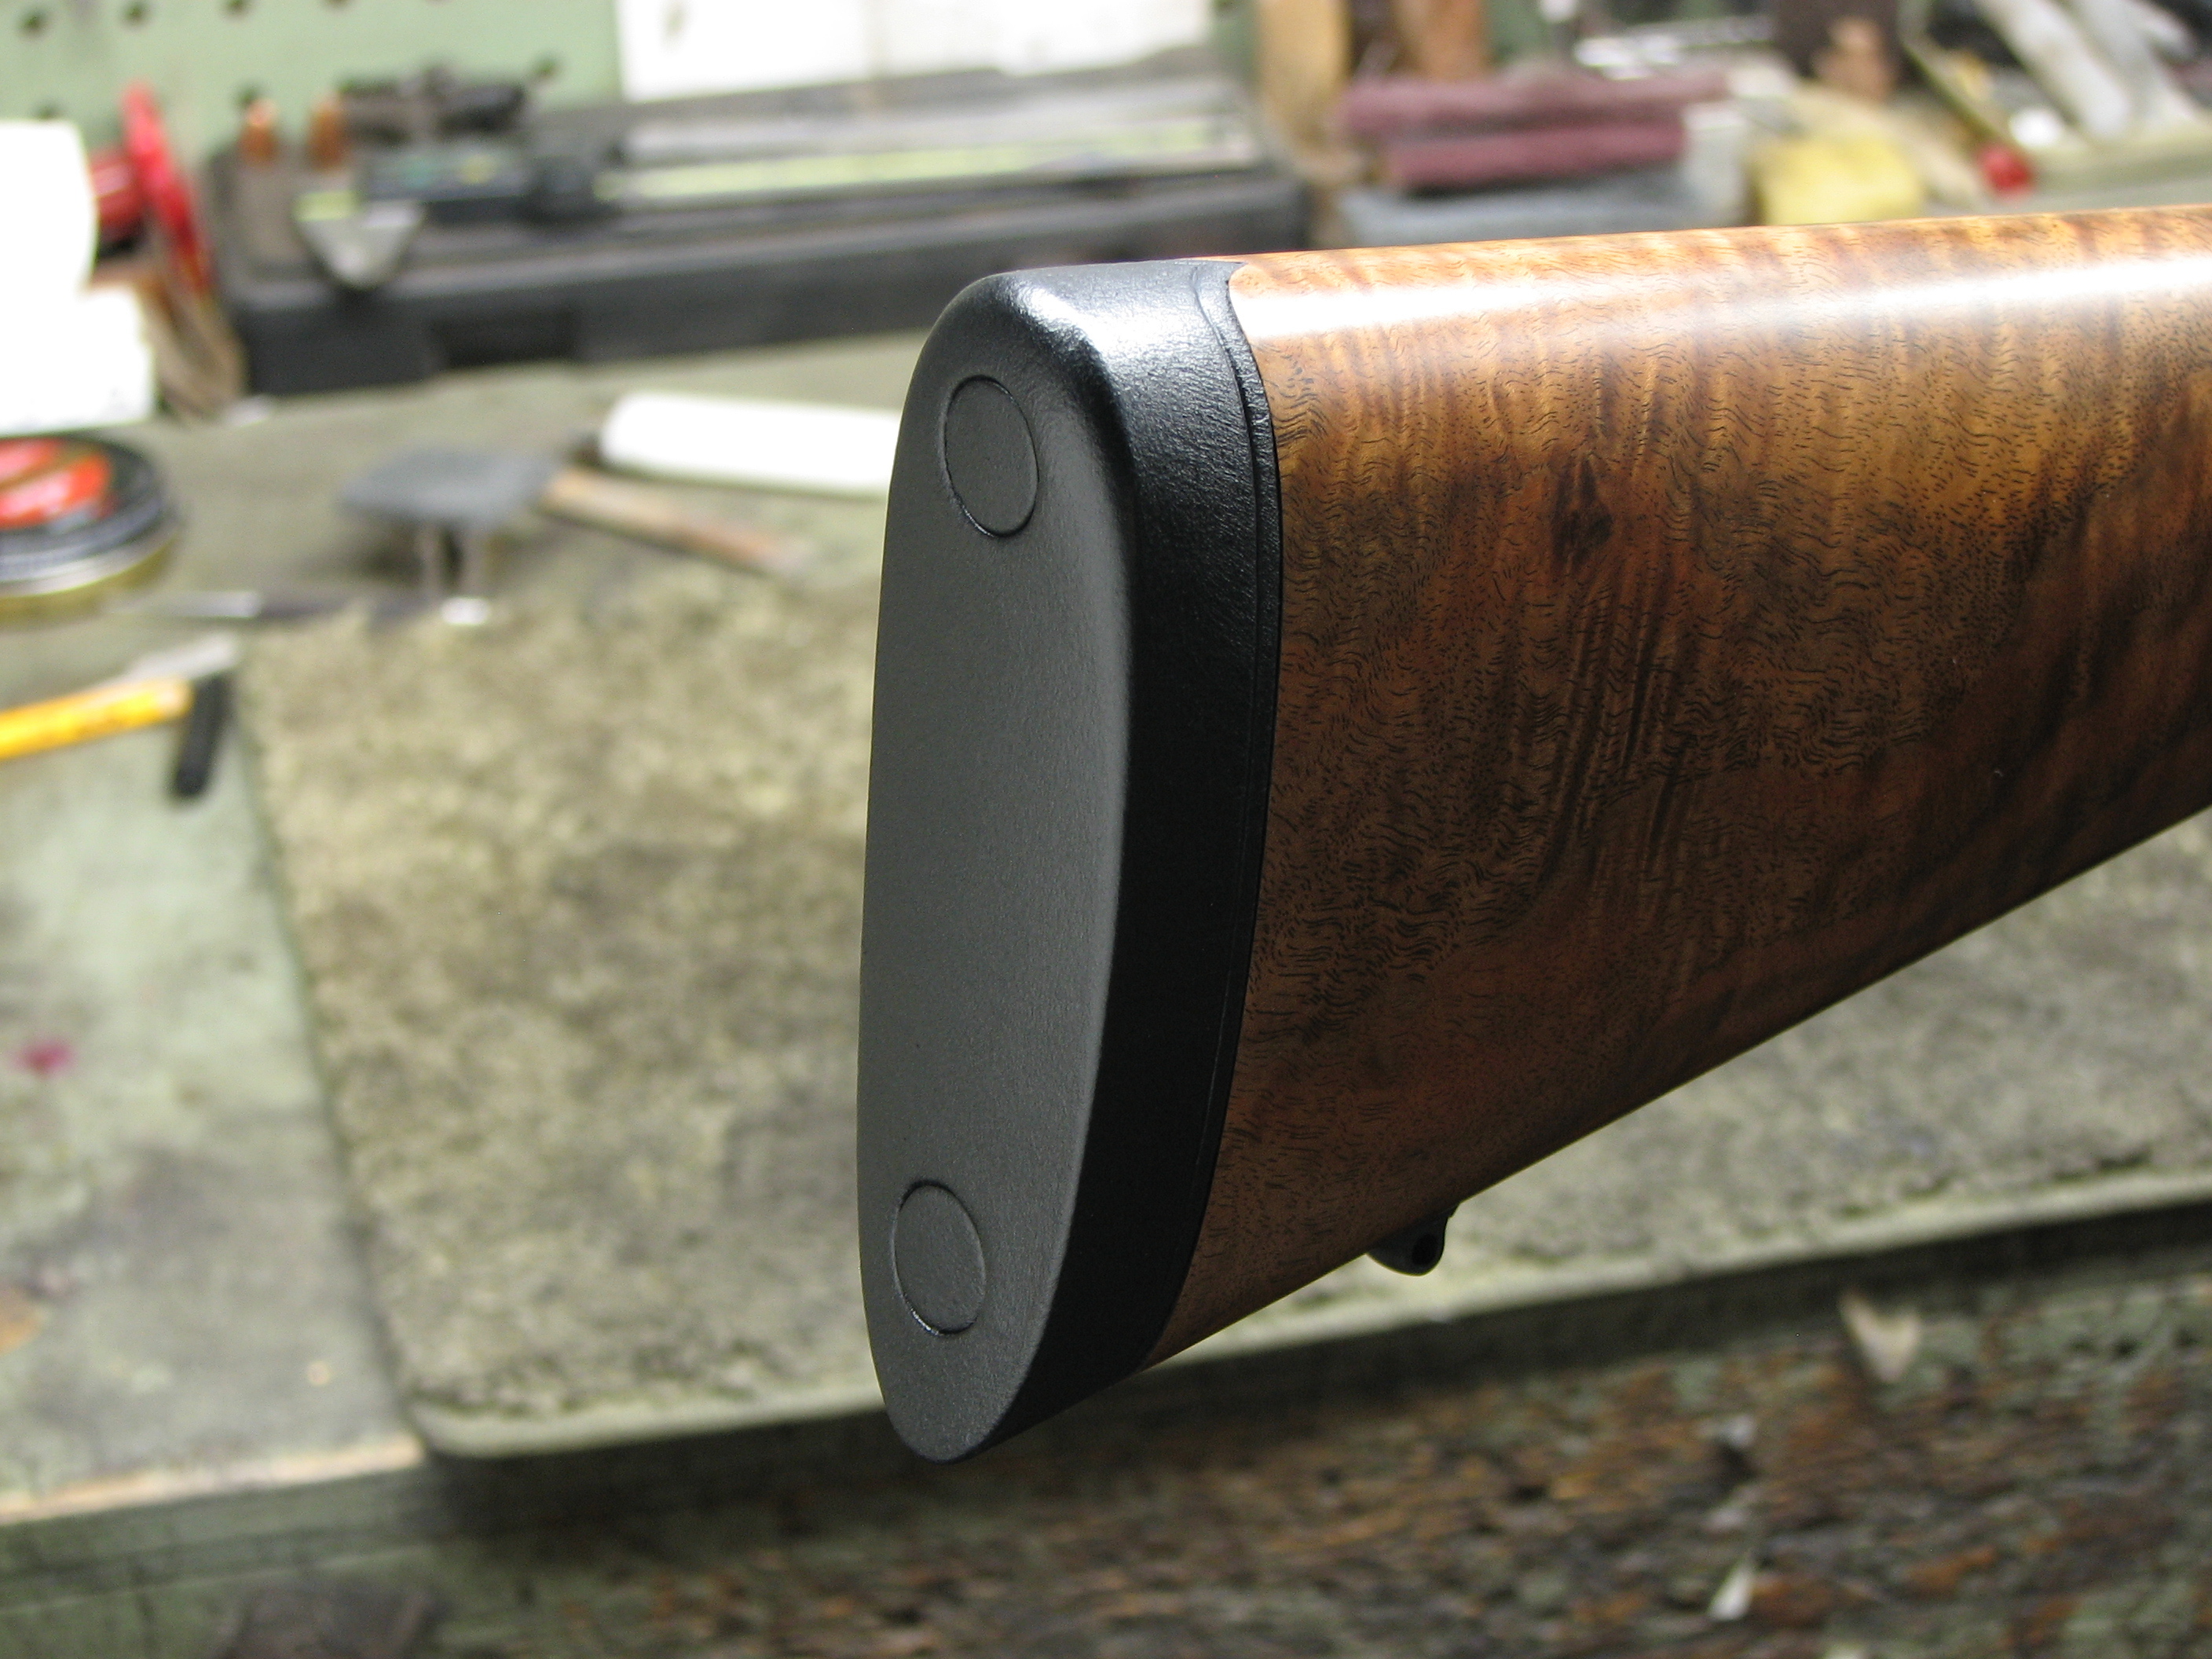
A few new photos have been added to the leather-covered recoil pads gallery.
https://vicknairgunsmithing.blogspot.com/2022/05/leather-covered-recoil-pads-gallery.html
A few new photos have been added to the leather-covered recoil pads gallery.
https://vicknairgunsmithing.blogspot.com/2022/05/leather-covered-recoil-pads-gallery.html
Yet another fine example of a beautifully made gun damaged by so-called "professionals". As always, I won't mention any names (you'd know them and probably wouldn't believe me anyway).
It came in with: a failed ejector spring, a failed mainspring, sears that would not hold the hammers cocked, damaged screws and some of the worst stock modification and finishing I'd ever seen. The failed springs were no one's fault but that can't be said for the rest of the damage.
The right-side hammer pivot screw was damaged. Since this damage would hinder the hammer's proper movement, it was the first item that needed to be corrected. I made (from O1), fitted and engraved the new screw, then heat-treated and finished it to match the frame. With this done, I could move on to correcting the situation with the sears, which we will come to presently.


This rifle also got a few other alterations. The stock was peppered with dents (mostly from the rear sling swivel, and on the edge of the cheekpiece) and the forend was made by Dakota in what was supposed to be the style of a Frazier rifle. Unfortunately, their interpretation of a Frazier forend looked more like the business end of the male genitalia. The solution to that problem, it was decided, would be a spurred, ebony forend tip. At the other end, the "factory custom" steel buttplate would be replaced with a leather-covered recoil pad, also spurred, and covered in black leather, to "bookend" the forend tip. The base for the pad is a Silver's #3, with modifications. Given the rifle's relatively diminutive proportions, a full-thickness Silver's pad would just look too "heavy", so the pad's thickness was reduced by separating the rubber from the rigid base, reducing the thickness of the rubber portion and then reattaching it to the base. This method, and the reason it must be done this way, has been covered elsewhere on this blog. Also, the #3 pad has a flat base with no spur, so the spur had to be created as well.
Other features that the owner didn't care for were, the cross-section of the forend and the stock panels where the wood meets the frame. The forend was a bit "chunky" and was basically a simple "U" in cross-section. That cross-section, combined with the barrel's contour, yielded a large and unsightly shelf of wood on either side of the barrel. He also didn't like the look of the stock panels and the absence of any matching paneling on the forend (the forend sides simply mated directly to the frame). He wanted something that better "framed" the frame.
Here's a photo of the rifle, as delivered. Note: this will be a "before and after", not a "step by step" because all of this has been covered elsewhere on this blog.


Here is the finished rifle.
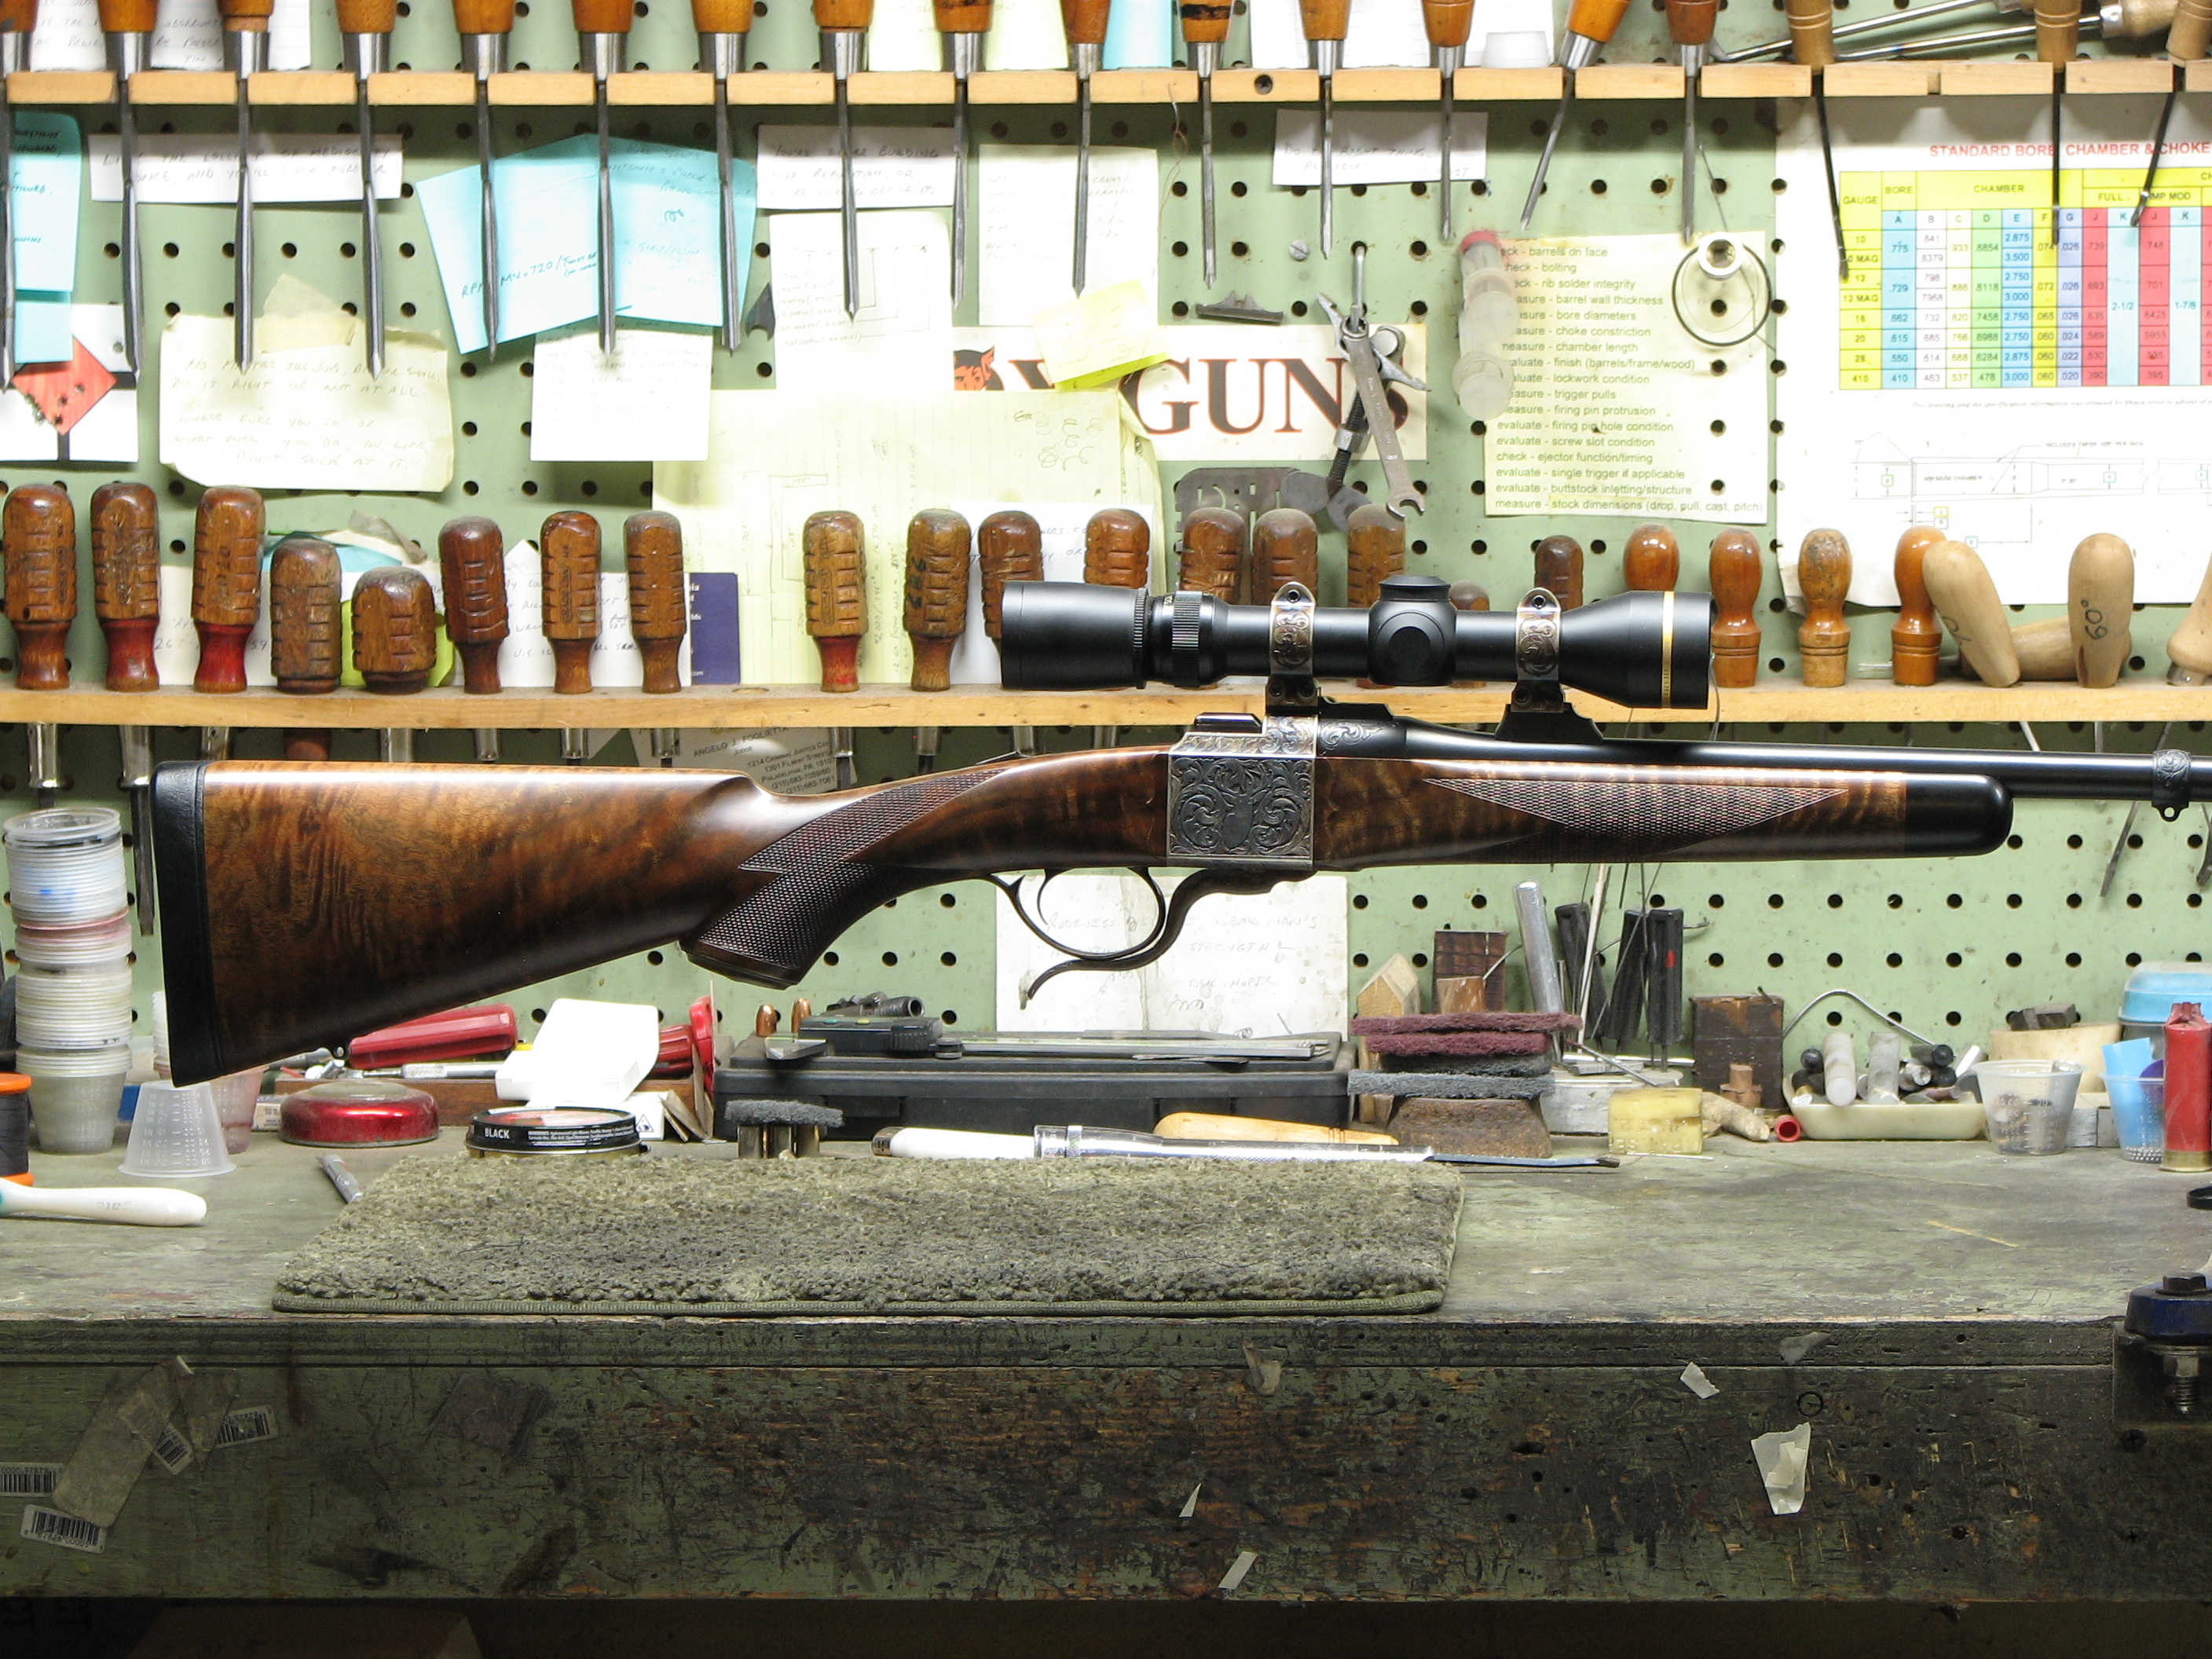
The new forend tip, note the socket head screw. This is Dakota factory "custom". No need to worry about slot alignment. The details of making and fitting the ebony tip are covered elsewhere in the Model 70 posts.


The forend alterations, now a truncated teardrop cross-section:


The new frame panels:


And finally, the pad: