What the Hell is a "Smython", you ask? Well, that's an interesting story that has its roots in a form of competition known as PPC, which stood for "Police Pistol Combat". In a nutshell, this was a form of pistol competition where members of police departments (at least the members that didn't see their sidearm as simply two more pounds of crap to carry) competed against each other and other departments using service-type sidearms. For much of its existence, this competition was dominated by revolvers, since police departments had issued revolvers exclusively until a couple of decades ago.
The two revolver makes that came to dominate were those from Smith & Wesson (their K and N frame models) and Colt's E and I frame models. Both brands produced well-made revolvers but when Colt introduced the Python around 1955 (don't quote me on the year, I'm not an historian), things changed in the game. In the hands of a good shooter, the Python was capable of slightly better accuracy than any previous design. This was NOT because of the gunrag writers' fevered fantasies about the Python being the "World's Greatest Revolver" (it wasn't and isn't) or its being "hand built" (it was no more or less hand built than any other revolver) but I'm sure the vent rib and full underlug certainly made many a gunwriter weak in the knees. It was solely because of Colt's use of a tapered or "choke" bore, wherein the bore actually tightened toward the muzzle by about .001". That, combined with the 1 in 10 twist rate made for a supposedly tack-driving revolver. That is, if you could deal with the way the Colt's action would "stack" during the double-action pull, which it certainly does, due to the Colt design using a single V-spring to power the entire action (it drove the trigger and the hammer). This is where the Smith & Wesson was far superior to the Colt. The S&W powered the hammer and trigger with separate springs, the mainspring being a single leaf and the trigger spring being a coil type. Due to the S&W's lockwork geometry, neither spring needs to be particularly powerful for reliable function and, most importantly, the double action pull is a consistent weight.
This led naturally to someone wondering why they couldn't put the Python barrel on the Smith frame and have the best of both, which is exactly what a number of pistolsmiths did during the fifties and sixties. Make no mistake, this was no simple procedure, barrel threads and diameters were different, bore centerline to cylinder axis dimensions were different (and would be until the advent of the L frame Smith) and the Colt had no provision for a front bolt, as the Smith did. The pistolsmiths of the day found a way to deal with each of these obstacles. Some of these conversions from that time period were very nicely done, while some others were a bit more "utilitarian". I imagine that this practice made neither factory very happy but, there you go. At some point, Colt stopped choke-boring the Python (which apparently had no effect on the gun's "legendary" status among those who don't know any better), no doubt a cost-cutting measure, and the practice of building "Smythons" or "Smolts" fell out of favor because there was really no need to do it any more. Now, most who want one of these combinations built simply like the "look" of the Python's barrel with its distinctive vent rib and underlug. In the early eighties, Smith & Wesson released their L frame revolvers, which shared the Python's dimension between the bore centerline and cylinder axis and also had the full-length underlug, which in the L frame was solid, adding much welcome weight forward. The early Python's underlug was hollow, contributing little more than a distinctive profile.
All of this brings us to the subject at hand, which technically I guess, can't really be called a "Smython", since not a single Colt part was used in its creation.
The client wanted the look of a Python with the action of a Smith & Wesson (his actual instructions were "I want a Python with Smith guts", which entails a bit more than just installing the vent rib), so the natural place to start is with an L frame model (a 686 in this case). The L frame already has the proper dimensions and the full lug, so replacing the barrel with a Python item made little sense, especially considering that the L frame is capable of better accuracy than most shooters can exploit. The Smith's rib is quite a bit different than that of the Colt though. It also lacks sufficient material to simply modify it to the new configuration, so the original rib was machined off, leaving a lengthwise dovetail. This dovetail would locate the new Python-esque rib, which was created from scratch. The dovetail ends before the rear of the barrel, capturing the rib against the frame (although the interference-fit of the dovetail actually locks the rib in place). This isn't a simple as it may seem, machining the material (post heat-treat) is nothing less than a bastard of a job.


Since the rib is a non-structural item, I used 18-8 so that I could actually machine it without thinking of suicide as an acceptable alternative. Part of the original rib was left in place for use as a reference plane until the new rib was almost complete. With the new rib material in place, shaping could begin.
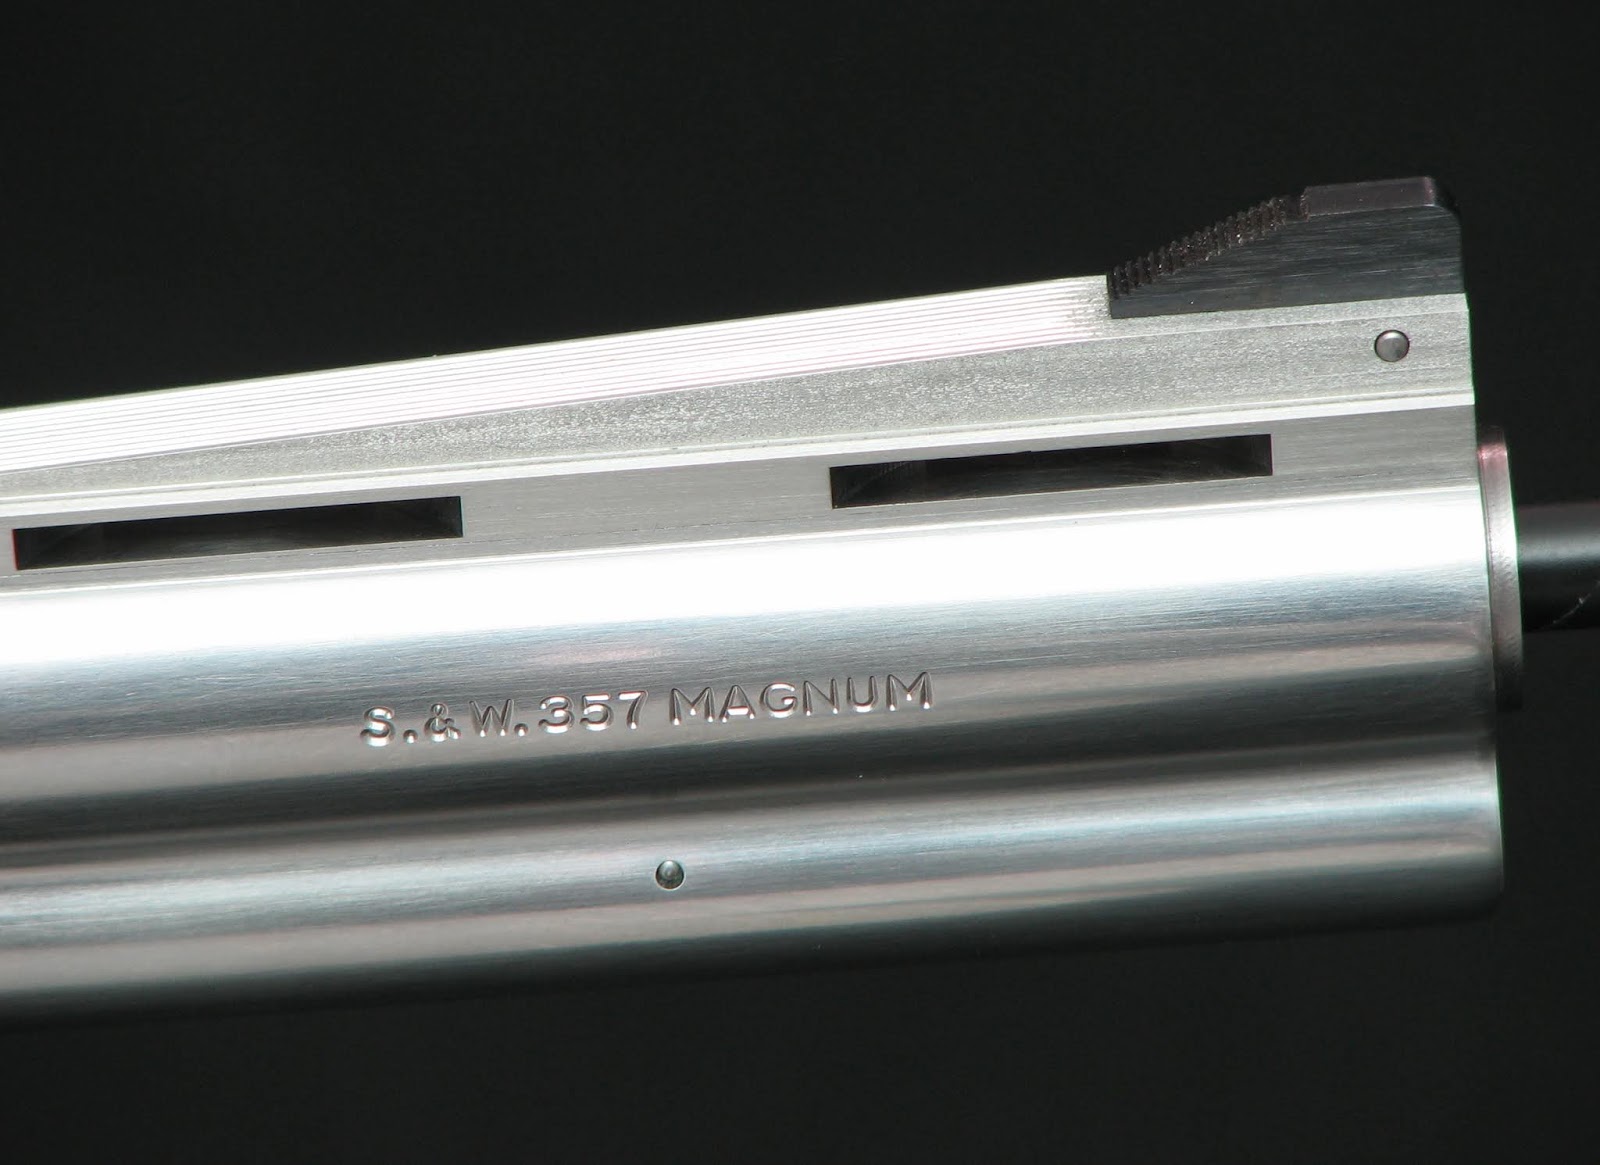
This was as good a time as any to replicate the Python's distinctive muzzle.
The slot for the front sight blade is cut and the cross pin hole drilled.
The rough shaped rib and still stock frame
Where the "Colt" contours meet the Smith frame is an area that needs to be addressed. The Smith frame is simply flat at the front, whereas the Colt has flutes cut into the frame that more gracefully handle the transition from topstrap to rib. Two other issues are the insufficient length of the standard Smith sight leaf, which would leave a gap between it and the rib, and the topstrap contours, which are less than perfect as they left the factory. All are now corrected: the frame contours by filing, while the sight leaf was "stretched" and the serrations recut.
A shop-made cutter is used to cut the serrations. Yes, I did unintentionally make the cutter backwards. Luckily, my mill also runs in reverse.
The barrel rib was also serrated to match.
Now everybody is playing nicely together.
Since we're on the frame, I took the opportunity to clean up all of the areas that the factory left "good enough" because good enough simply isn't.
Notice how not flat the frame is. Not quite as bad a Ruger but not good enough.
The frame sides, as they should be. The screws and their holes are done in watchmaker style, flattened heads with beveled edges.
The cylinder yoke to frame fit was addressed as well.
The backstrap was also reshaped to more closely mimic the Colt. This necessitated recutting the serrations, which in this case were done by hand (due to the curvature of the frame) after laying them out on the surface plate.
I made a new pair of stocks from a piece of English walnut, along with the screw and brass escutcheons. This was done concurrent with the backstrap reshaping and before the frame sides.
Another element of the Python "look" is the beveled forward edge of the cylinder.
There was one last item that was absolutely necessary to complete the Python profile, the distinctive hammer spur. Were this a blued gun, I would have annealed the hammer (they are case-hardened low-carbon steel in a blued gun), removed the spur and welded new material in place to shape into the new spur. Stainless Smiths however, use hammers and triggers that are made of a through-hardening steel that is then hard-chrome plated, so welding was not an option. So I made a new hammer from O1. This gave me the opportunity to fit the hammer perfectly, with zero side clearance in the frame (after squaring both bearing bosses) so that it only makes contact at the bosses and nowhere else. After preliminary fitting to the frame and lockwork, and checkering of the spur, I heat treated it to 57-60 Rc and then performed final fitting and polishing. The trigger was also externally recontoured at this time.


During final assembly, after verifying frame alignment, correcting the misaligned cylinder yoke and setting the yoke and cylinder endshake at zero, the action was tuned for a perfectly smooth 7 pound double action pull. No aftermarket springs are used and the strain screw is never shortened. Light springs are not what makes a smooth action.
The last items were to make and black the front sight blade, reblack the rear sight leaf and grain the surfaces of the rib (it's not bead blasting, it's done by hand), the periphery of the thumblatch and the exposed yoke pivot, then some anglage (bevelling) and then final assembly.
Now, the glamour shots,