Craft Gunmaking, No compromises, No corners cut, EVER
Showing posts with label Pistolsmithing. Show all posts

Monday, February 12, 2024

Repairing a Colt 1849

 This one had a few issues.  The cylinder would not carry up, nor would it lock into position and, the mainspring was broken.  The carry up issue was, as expected, due to a broken hand spring (not an uncommon issue in these old Colts).  The cylinder stop malfunction was not however caused by any issue with its spring, but with the screw upon which it pivots.  It seems that the cylinder stop screw (as well as the trigger pivot screw) had, somehow, developed multiple bends.  

Obviously, these need to be replaced.


New screws were turned and threaded on the lathe (the blank for the new hand spring has also been made and fit).

Then I finished off each end of the screws and engraved them in the appropriate pattern before heat treating them.

Then, it's on to the mainspring, which is made from 1095.

Machining the thickness taper...

Heat treated and finished...

After reassembly, it functions (and looks) as it should.  Yes, the grips are factory ivory, which I find repugnant.  Sadly (and shamefully), people seem to prize ivory today just as much as they did back then.


Wednesday, November 15, 2023

Not the Average Super Redhawk

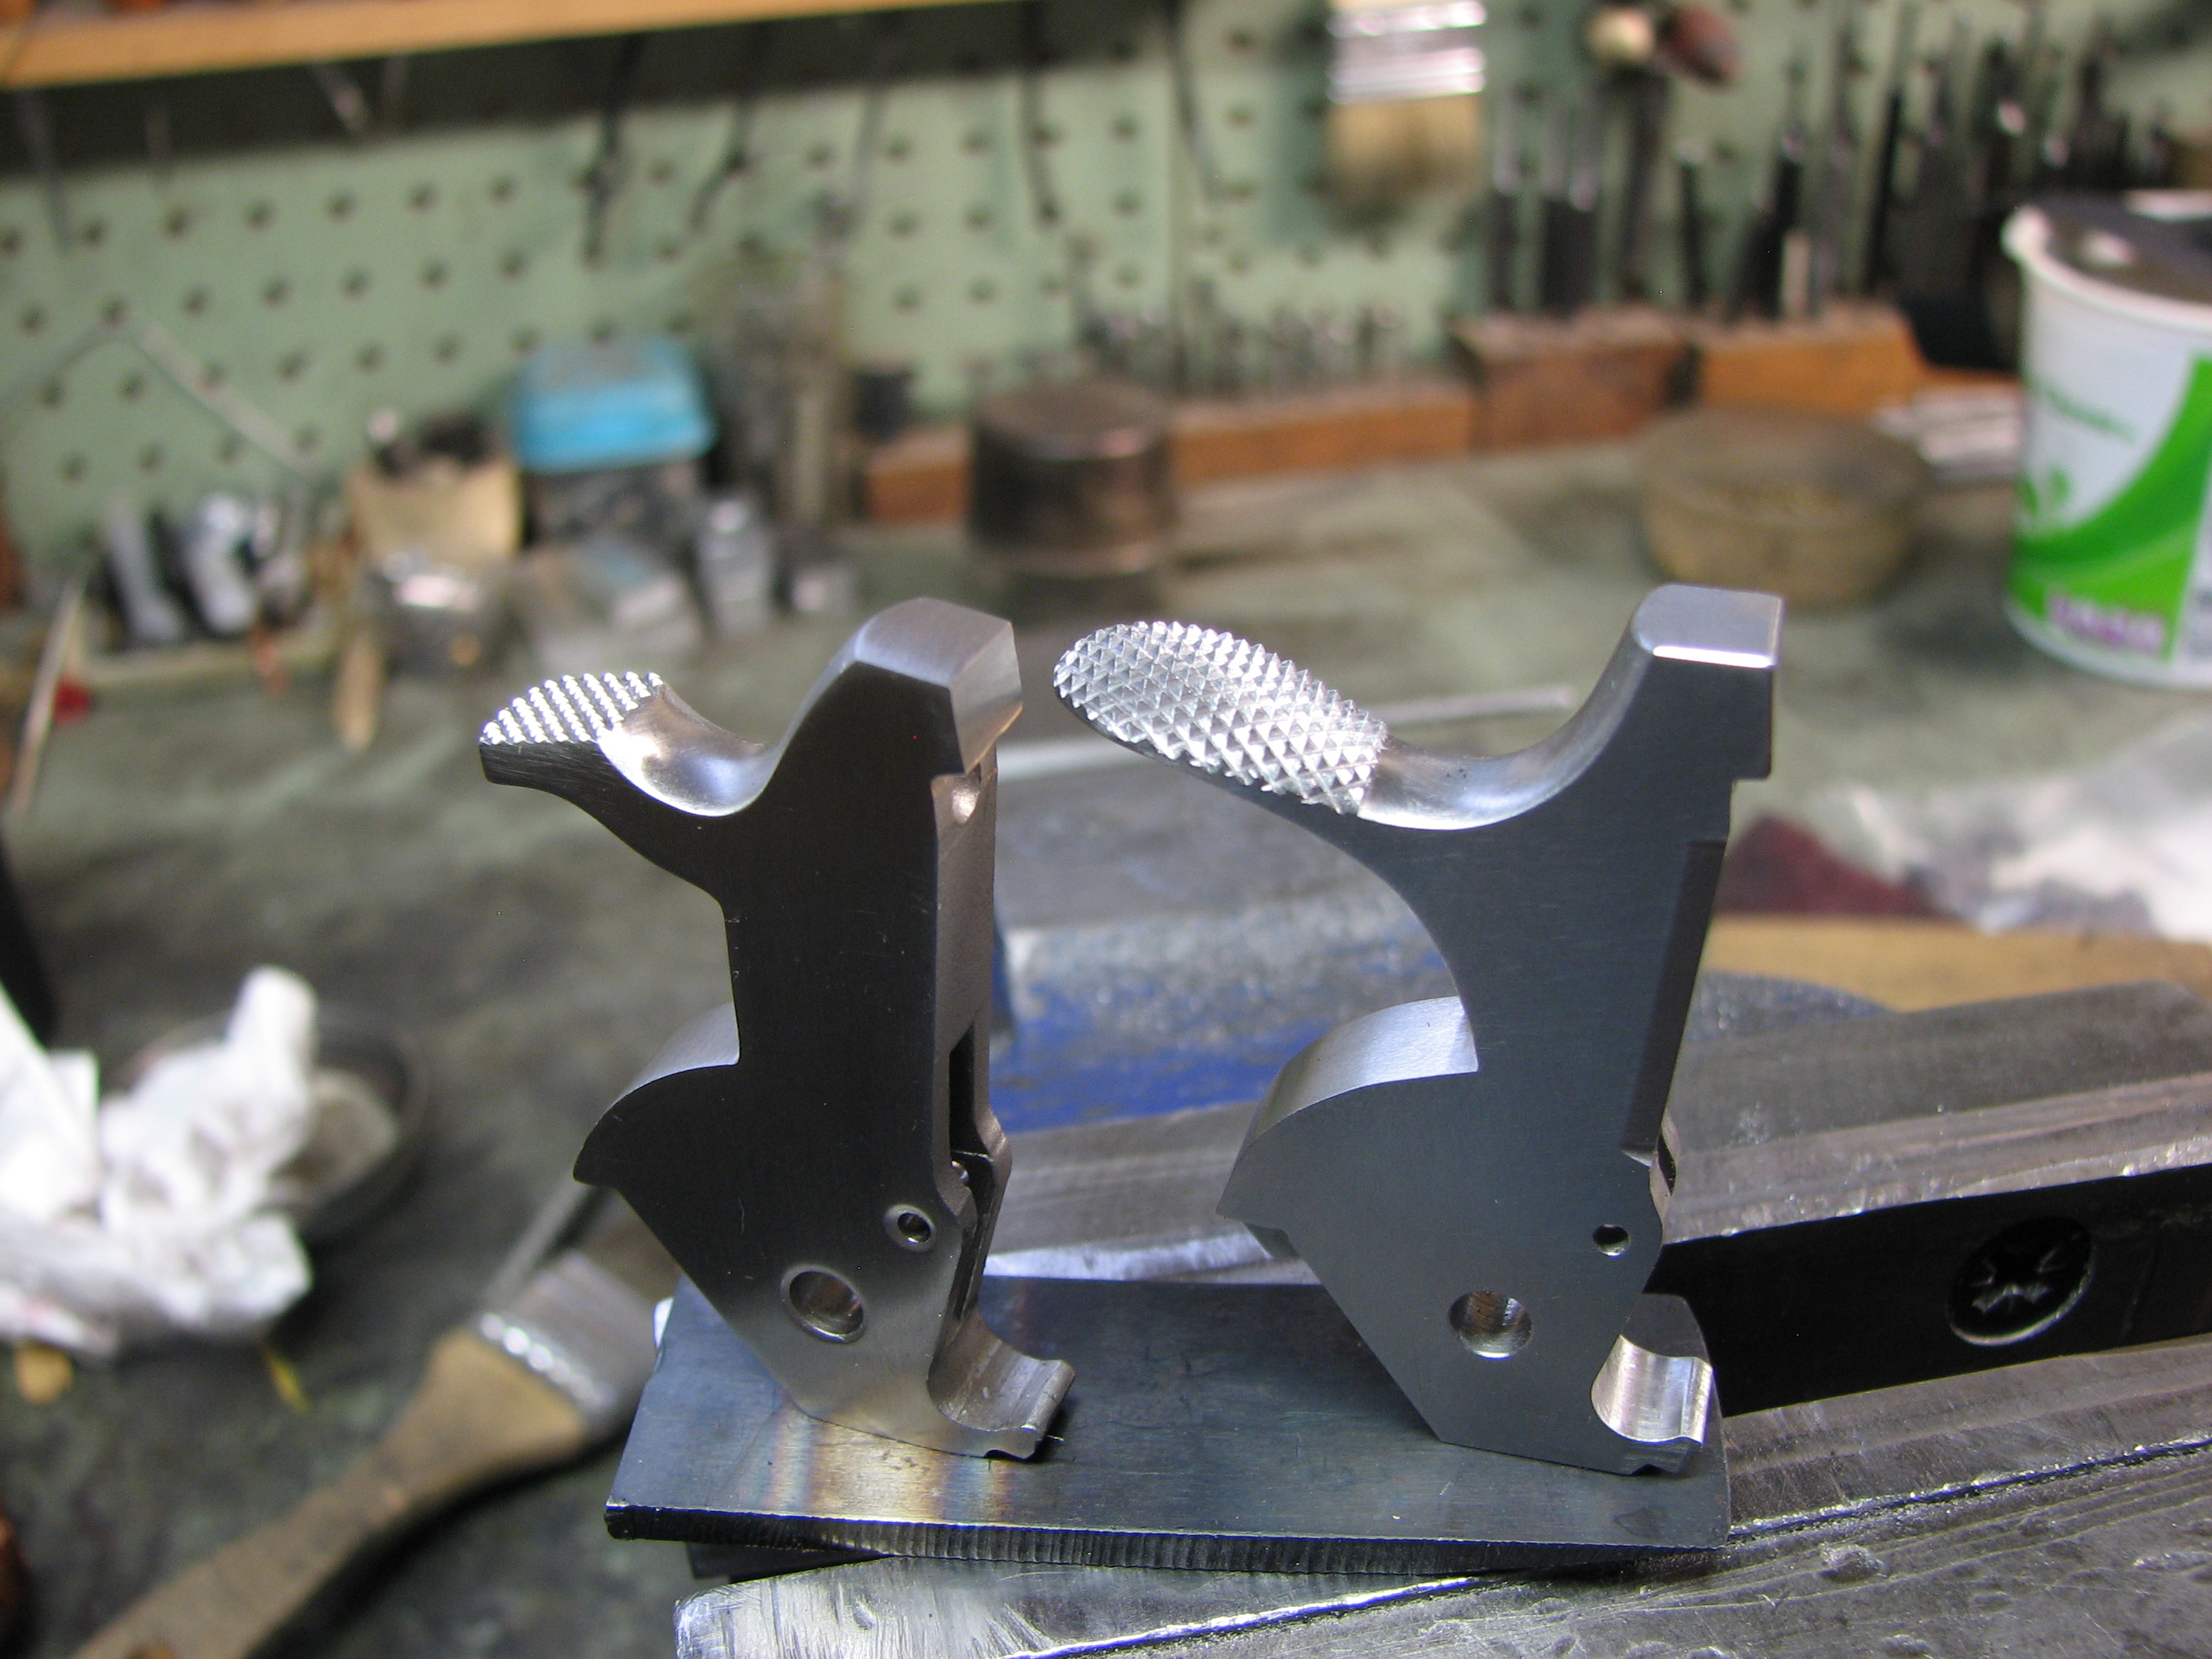
 It's a Hamilton Bowen "Real Super Redhawk"(or GP-44), which is a standard SRH which has undergone major frame surgery, in order to lose the integral scope interfaces and accept an old-style Redhawk barrel.

This results in the classic look of the original Redhawk, with the superior lockwork (and grip) of the Super.  Unfortunately, it retains the ugly factory hammer, which is why the customer sent it to me.

Yes, yet another Python style hammer (the process of actually making the hammer has been detailed elsewhere, so I won't repeat it here) .  But for this one there were some further frame modifications that were needed beyond the usual internal "de-boogering" (removal of internal casting imperfections).  

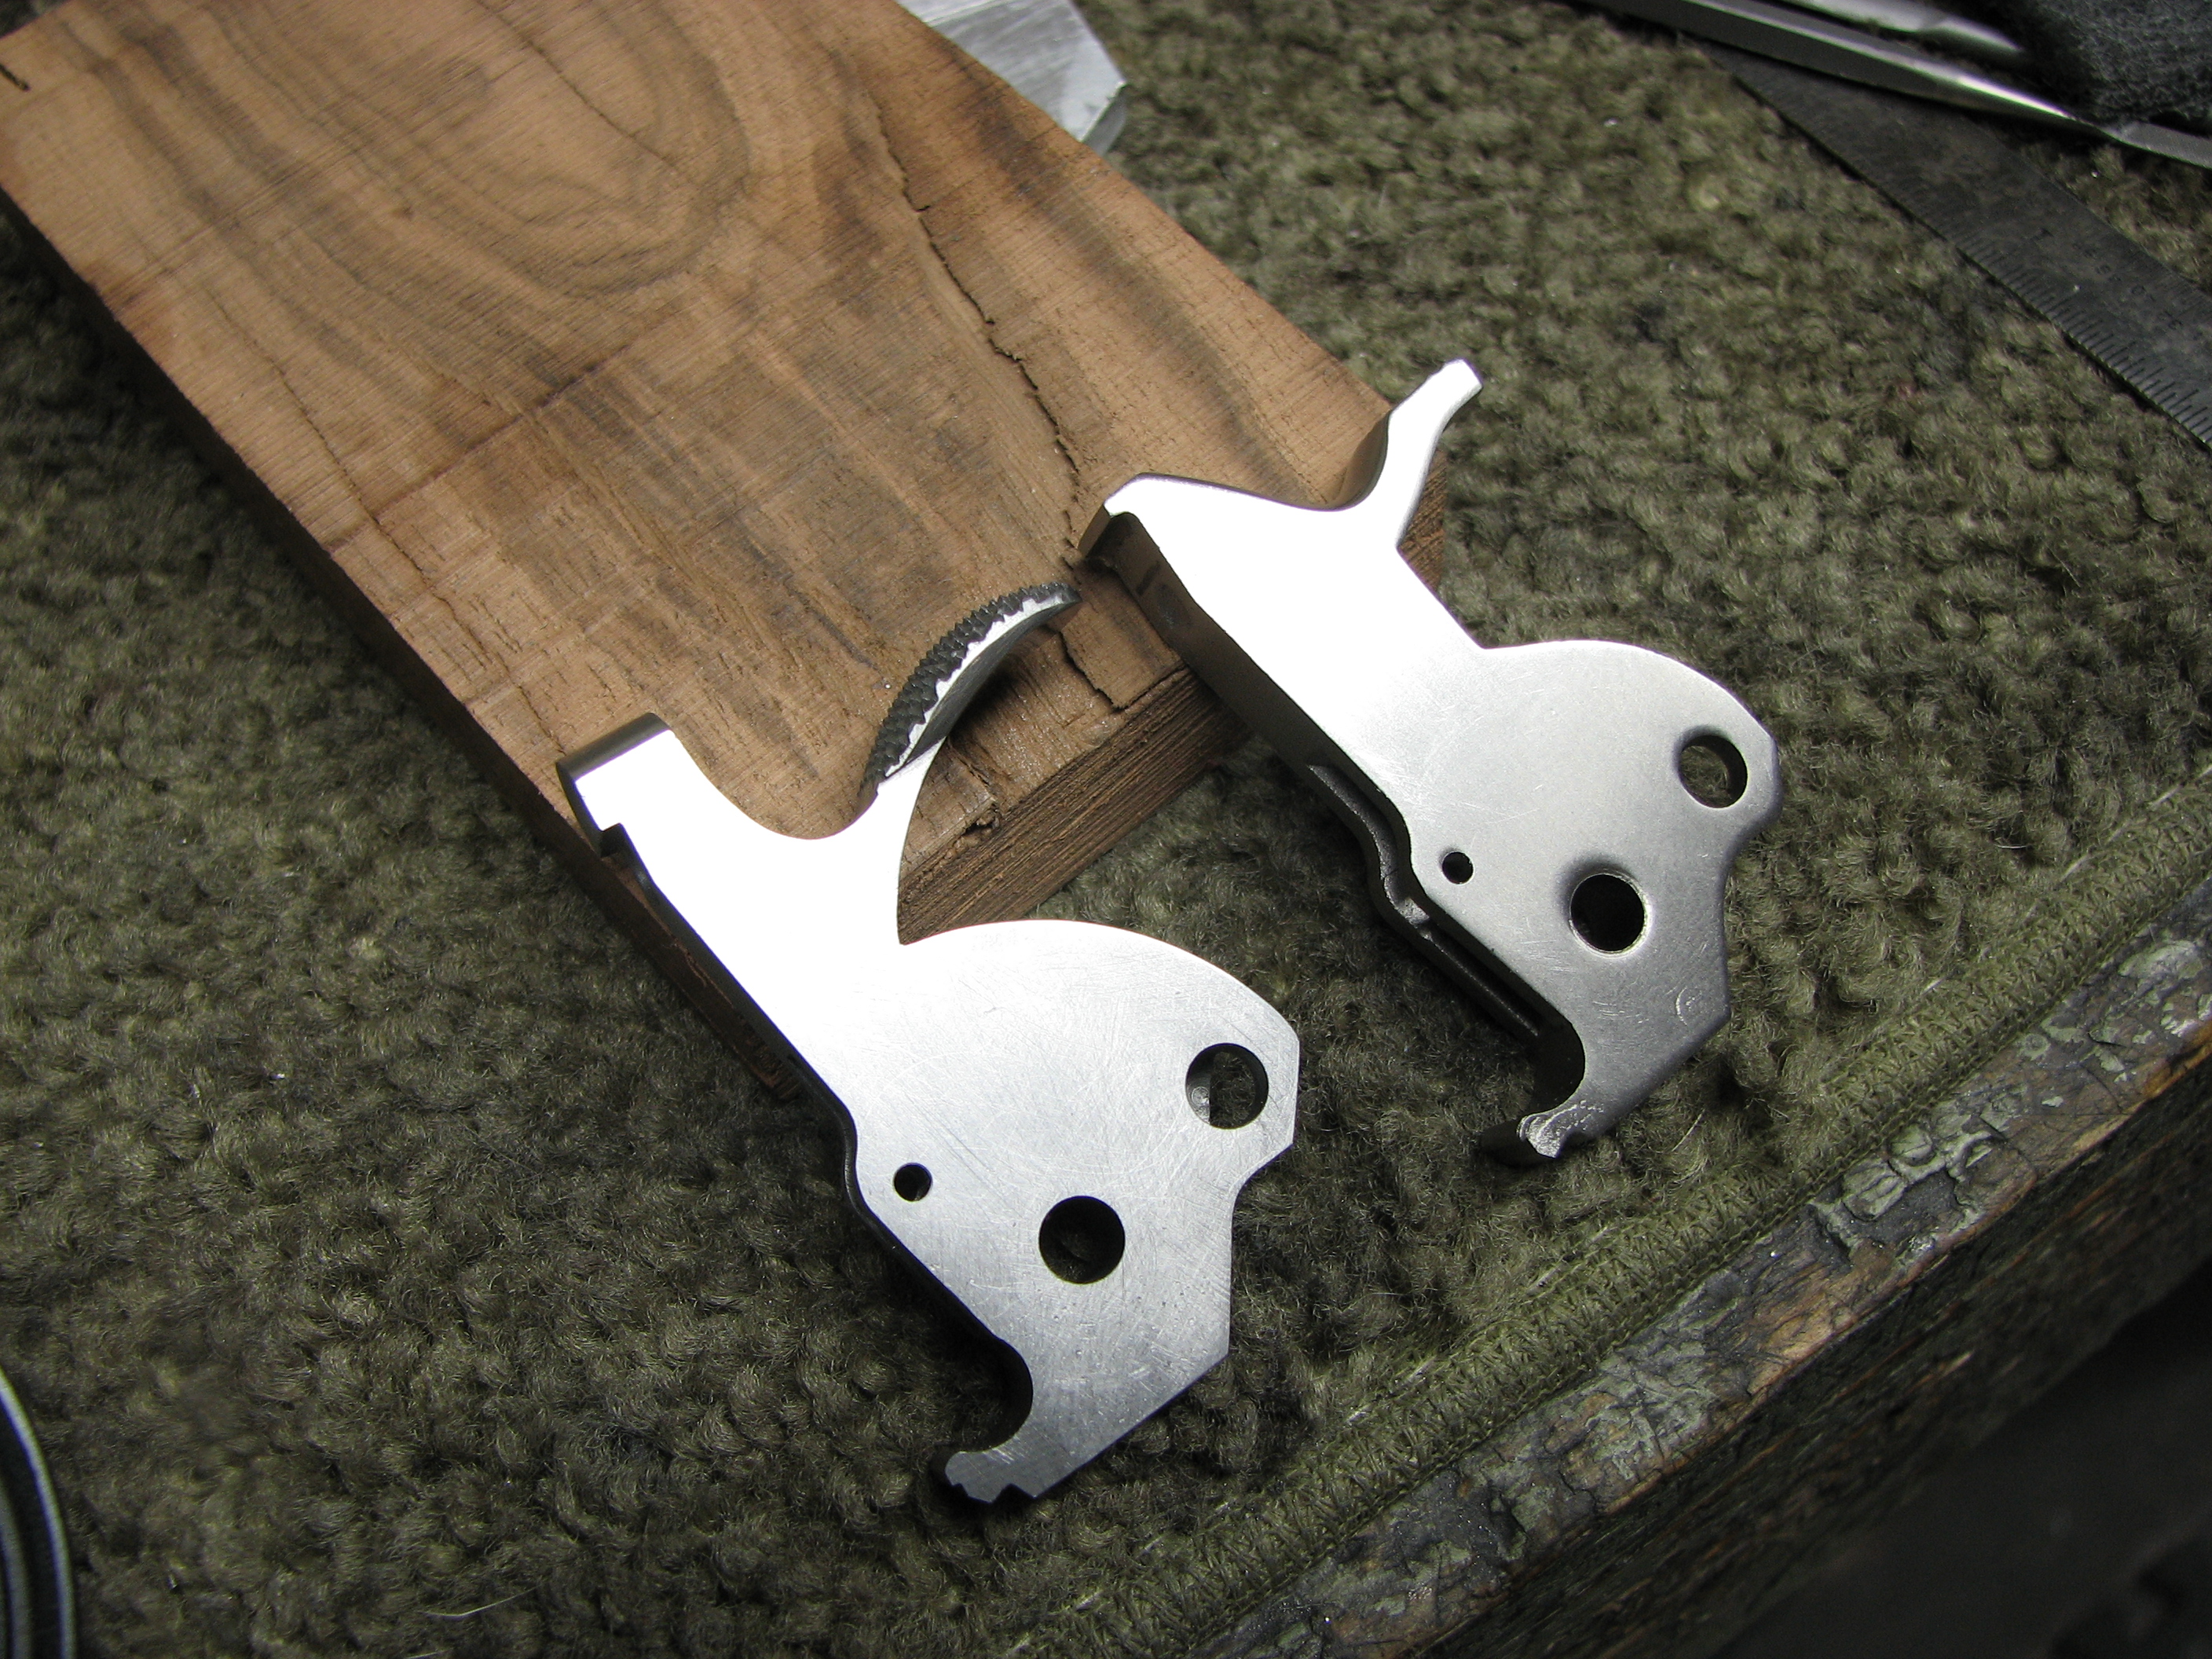
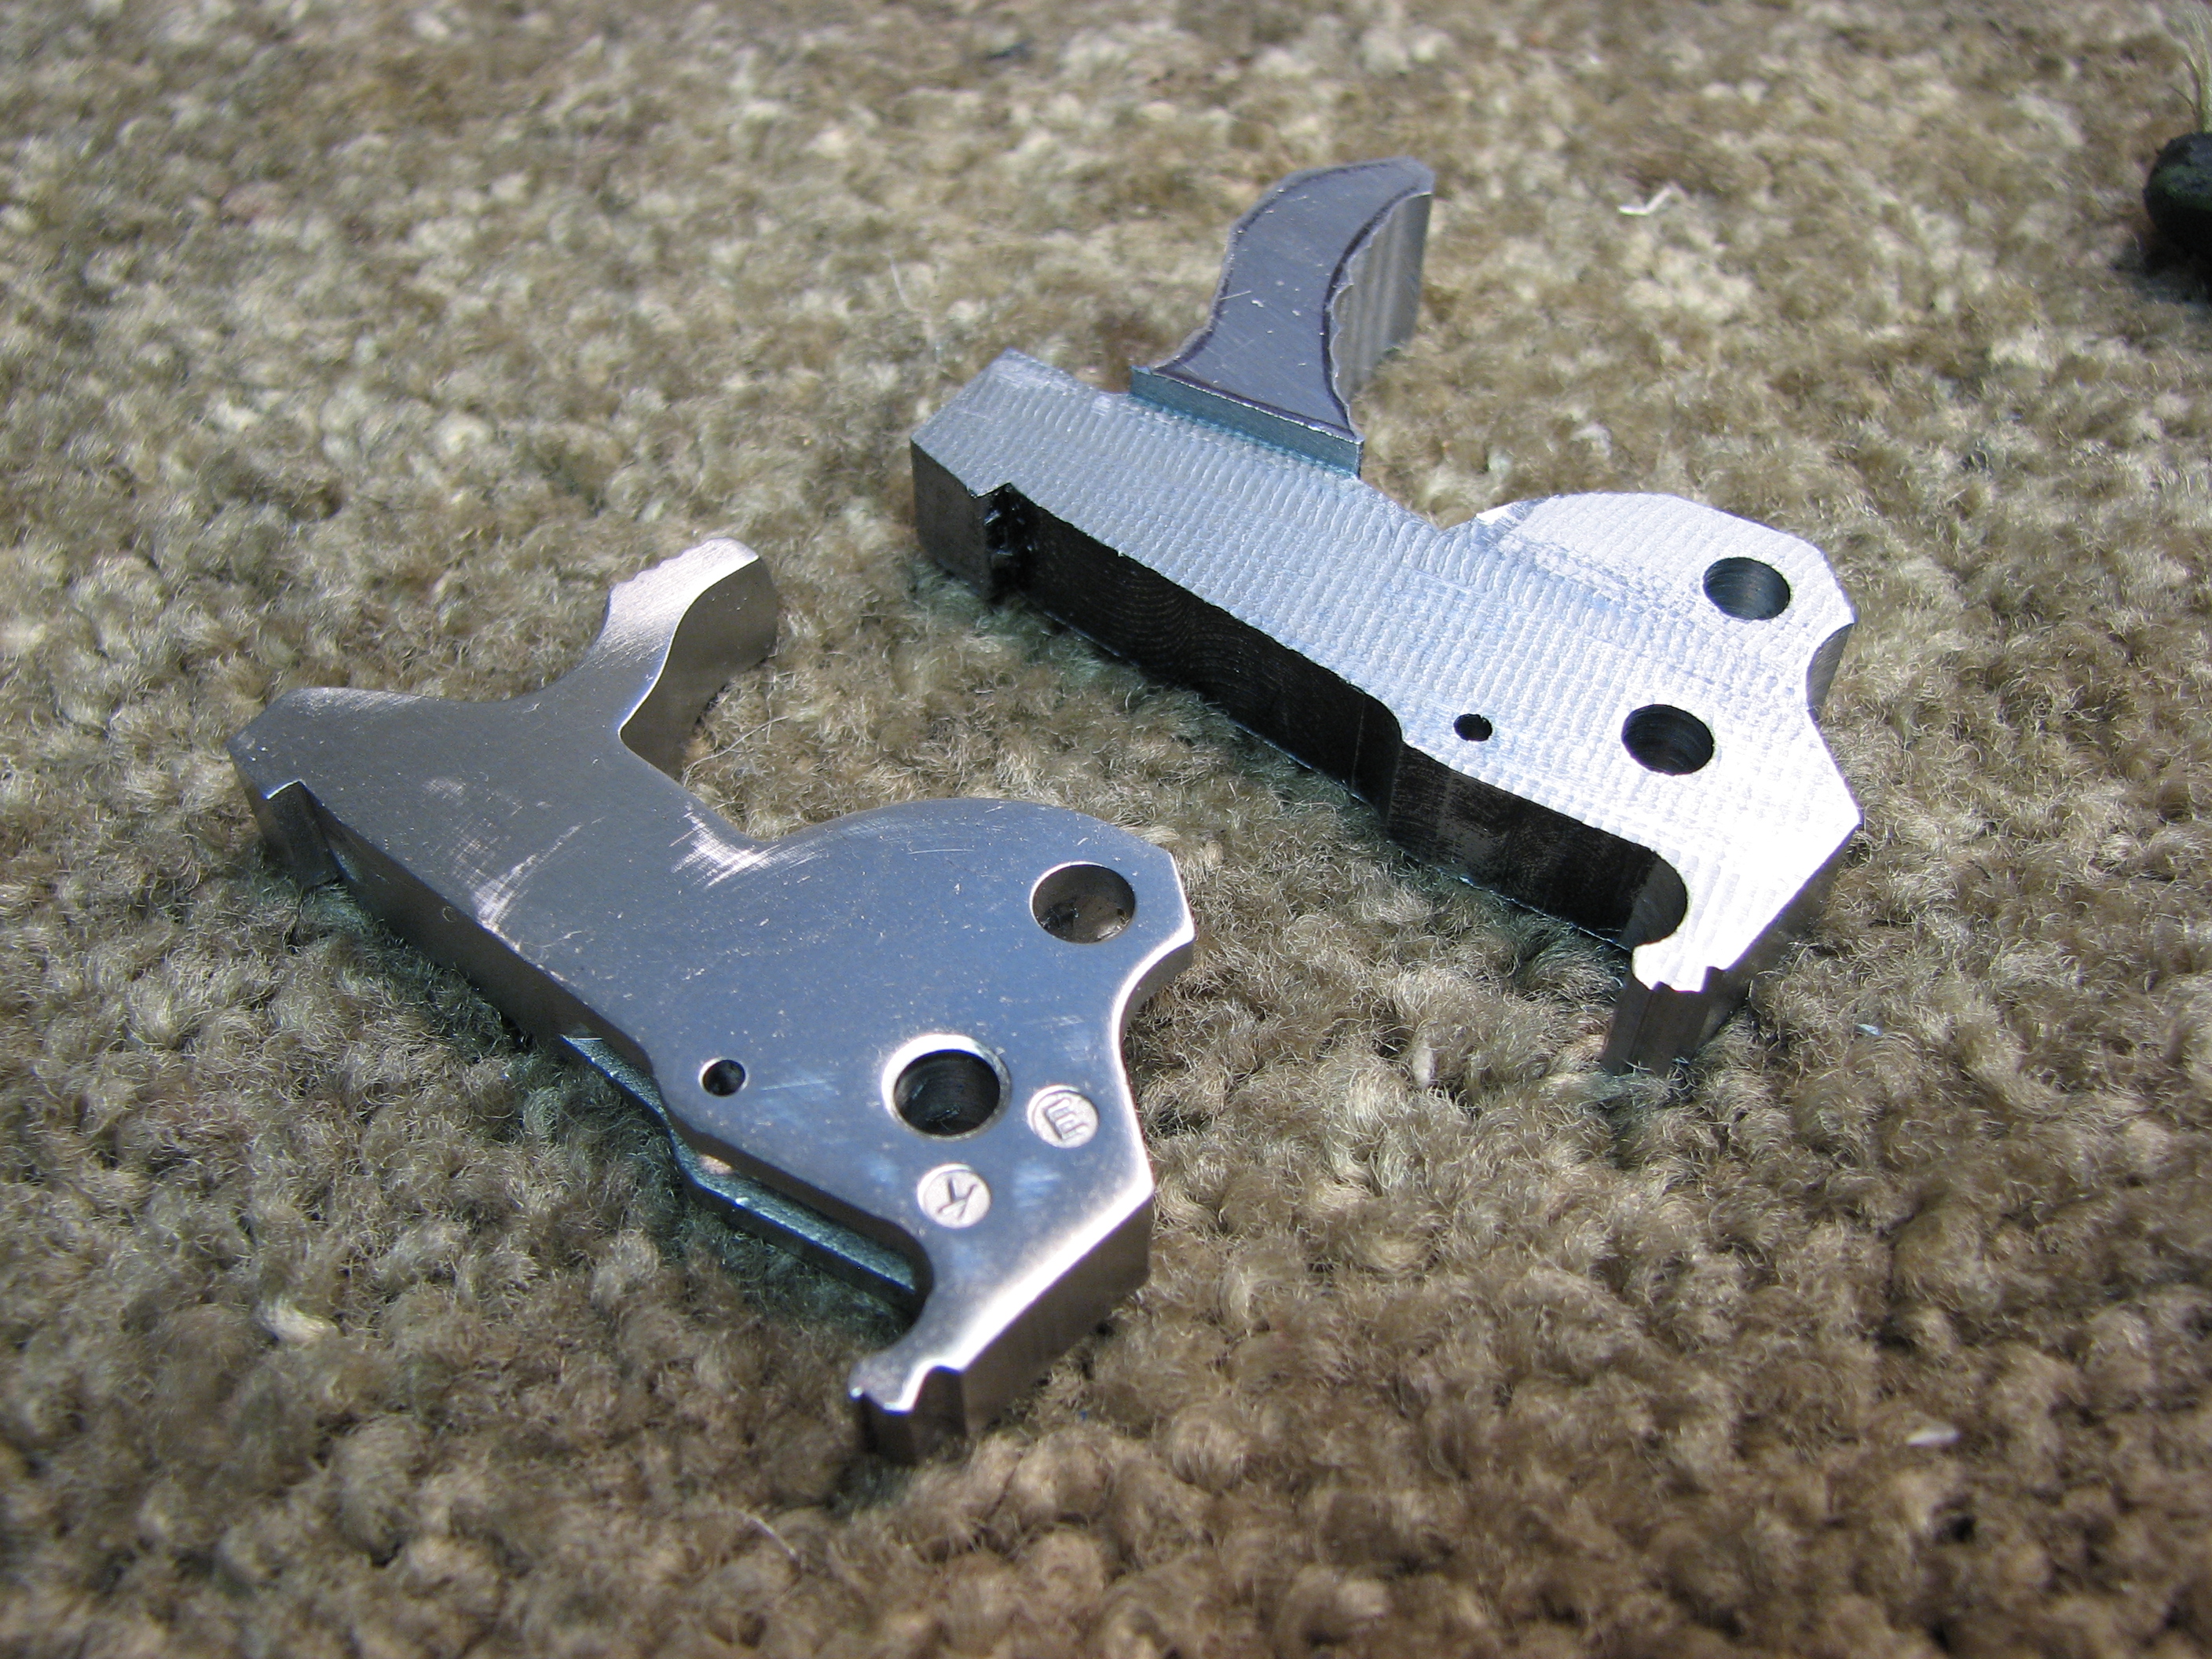
The Python hammer profile is partly characterized by the way that the arc at the base of the hammer meets the underside arc of the spur.   Recreating this on a GP-100 is fairly straightforward, since that design shares the same bore and cylinder centerline distance as the Colt.  On the big revolver though, it's a different story.  The SRH's lockwork pivots (including the hammer's) are in the same location as those of the GP-100 but, obviously, the centerlines of the bore and cylinder are further apart AND, higher above the hammer pivot axis.  This is a long-winded way of saying that the SRH's hammer is taller (much) than that of the GP and the spur is commensurately higher up on the hammer (the SRH hammer is nothing more than a GP hammer that has been stretched in the middle).  

This presents a problem in recreating the Python hammer profile and proportions that will actually fit inside the Ruger's frame because, since the bottom of the hammer is the same as a GP's, then it would follow that the opening in which the hammer travels is also the same size as that of the GP-100 (it is).  This means that, if I took the same route that Ruger did, and simply stretched the hammer, the convex arc of the hammer's base would not come anywhere near intersecting the concave arc of the spur, spoiling the desired look.  The obvious solution is to design and make a cutter that pivots on the hammer pin and cuts the internal arc at the rear of the frame to a larger radius, in order to accommodate a hammer with a larger base radius.  Got it so far?  Good.  If not, the photos will hopefully clear it up.


Friday, August 4, 2023

GP-100 "Python" hammer

 Here's a Stainless GP-100 MC in 10mm auto, that came in for a Python hammer.  Since the actual making of the hammer is detailed elsewhere on this blog, I won't get into all of that here.  Aside from the inletting of the grip to gain clearance for the hammer spur, it's just like the other GP conversions.

Let's compare the fit of the double-action sear between the factory part and mine.  In the factory hammer, the pocket for the DA sear is created during the casting process.

Since the new hammer is hand made, from an O1 billet, this problem (among others) is corrected.


Saturday, March 25, 2023

GP-100 Custom Hammer

 This customer wanted a Python-esque hammer for both his blue and stainless Ruger GP-100 revolvers.  Given that the GP's proportions are similar to a Python's (chamber spacing and cylinder CL to bore CL), this allowed a much more faithful rendition of the Python's distinctively styled hammer.  The original hammer is an investment casting, while its replacement is machined from an O1 billet and fully heat treated before finishing.

Since I don't use CNC anything, each of these cuts requires a different setup.  The final machining operation is to narrow the portion of the hammer that isn't the spur.  Everything after this is hand work.

The hammer after final shaping and checkering but prior to heat treating and finishing.

The finished job:

The glamour shots (of both guns):


Thursday, July 14, 2022

Python Hammer for a Super Redhawk

 The customer wanted a Python-esque hammer spur for his Ruger Super Redhawk.  This was a bit more involved than simply welding a new piece to the existing hammer.  In order to capture the look of the Python hammer, a good portion of the upper half of the existing hammer would have had to be welded up in order to have enough material with which to work.  I did not want to do that much welding on the part for a couple of reasons, namely that the original hammer is a casting and I didn't want any casting porosity spoiling the looks of the finished part.  The second reason is that, due to the hammer's height and speed, it's carrying quite a bit of inertia, and the last thing I'd want is for the hammer to stop while the spur keeps going.  The obvious answer is to simply make a new hammer from scratch, in the configuration needed.

The photos below detail that process.

The original hammer and the blank that contains the new part.  I simply remove everything that isn't the new hammer.

 From this point, it's all hand work.  Reaming the pivot pin holes, shaping and checkering the spur, fitting the DA sear and timing the DA hand-off, and preliminary setting of the SA sear angle are all done at this stage.  Heat treatment and final polishing, followed by final fitting of the SA pull are next.

The finished job